Tag Archives: juice

CHIPOTLE CILANTRO DRESSING or dip

Hi Guys, How is summer???  EEEEEK I’m super excited.  As many of you know my house is still under reno’s and just recently got my new Caesarstone counter-tops installed.  I’m ecstatic!  They are flawless and beautiful and exactly what i’ve wanted for oh so long now.  Now my foodblog pics have a higher quality look to them.  I’m so pleased.  Time to fine tune my Canon Rebel T3i camera and get to work!

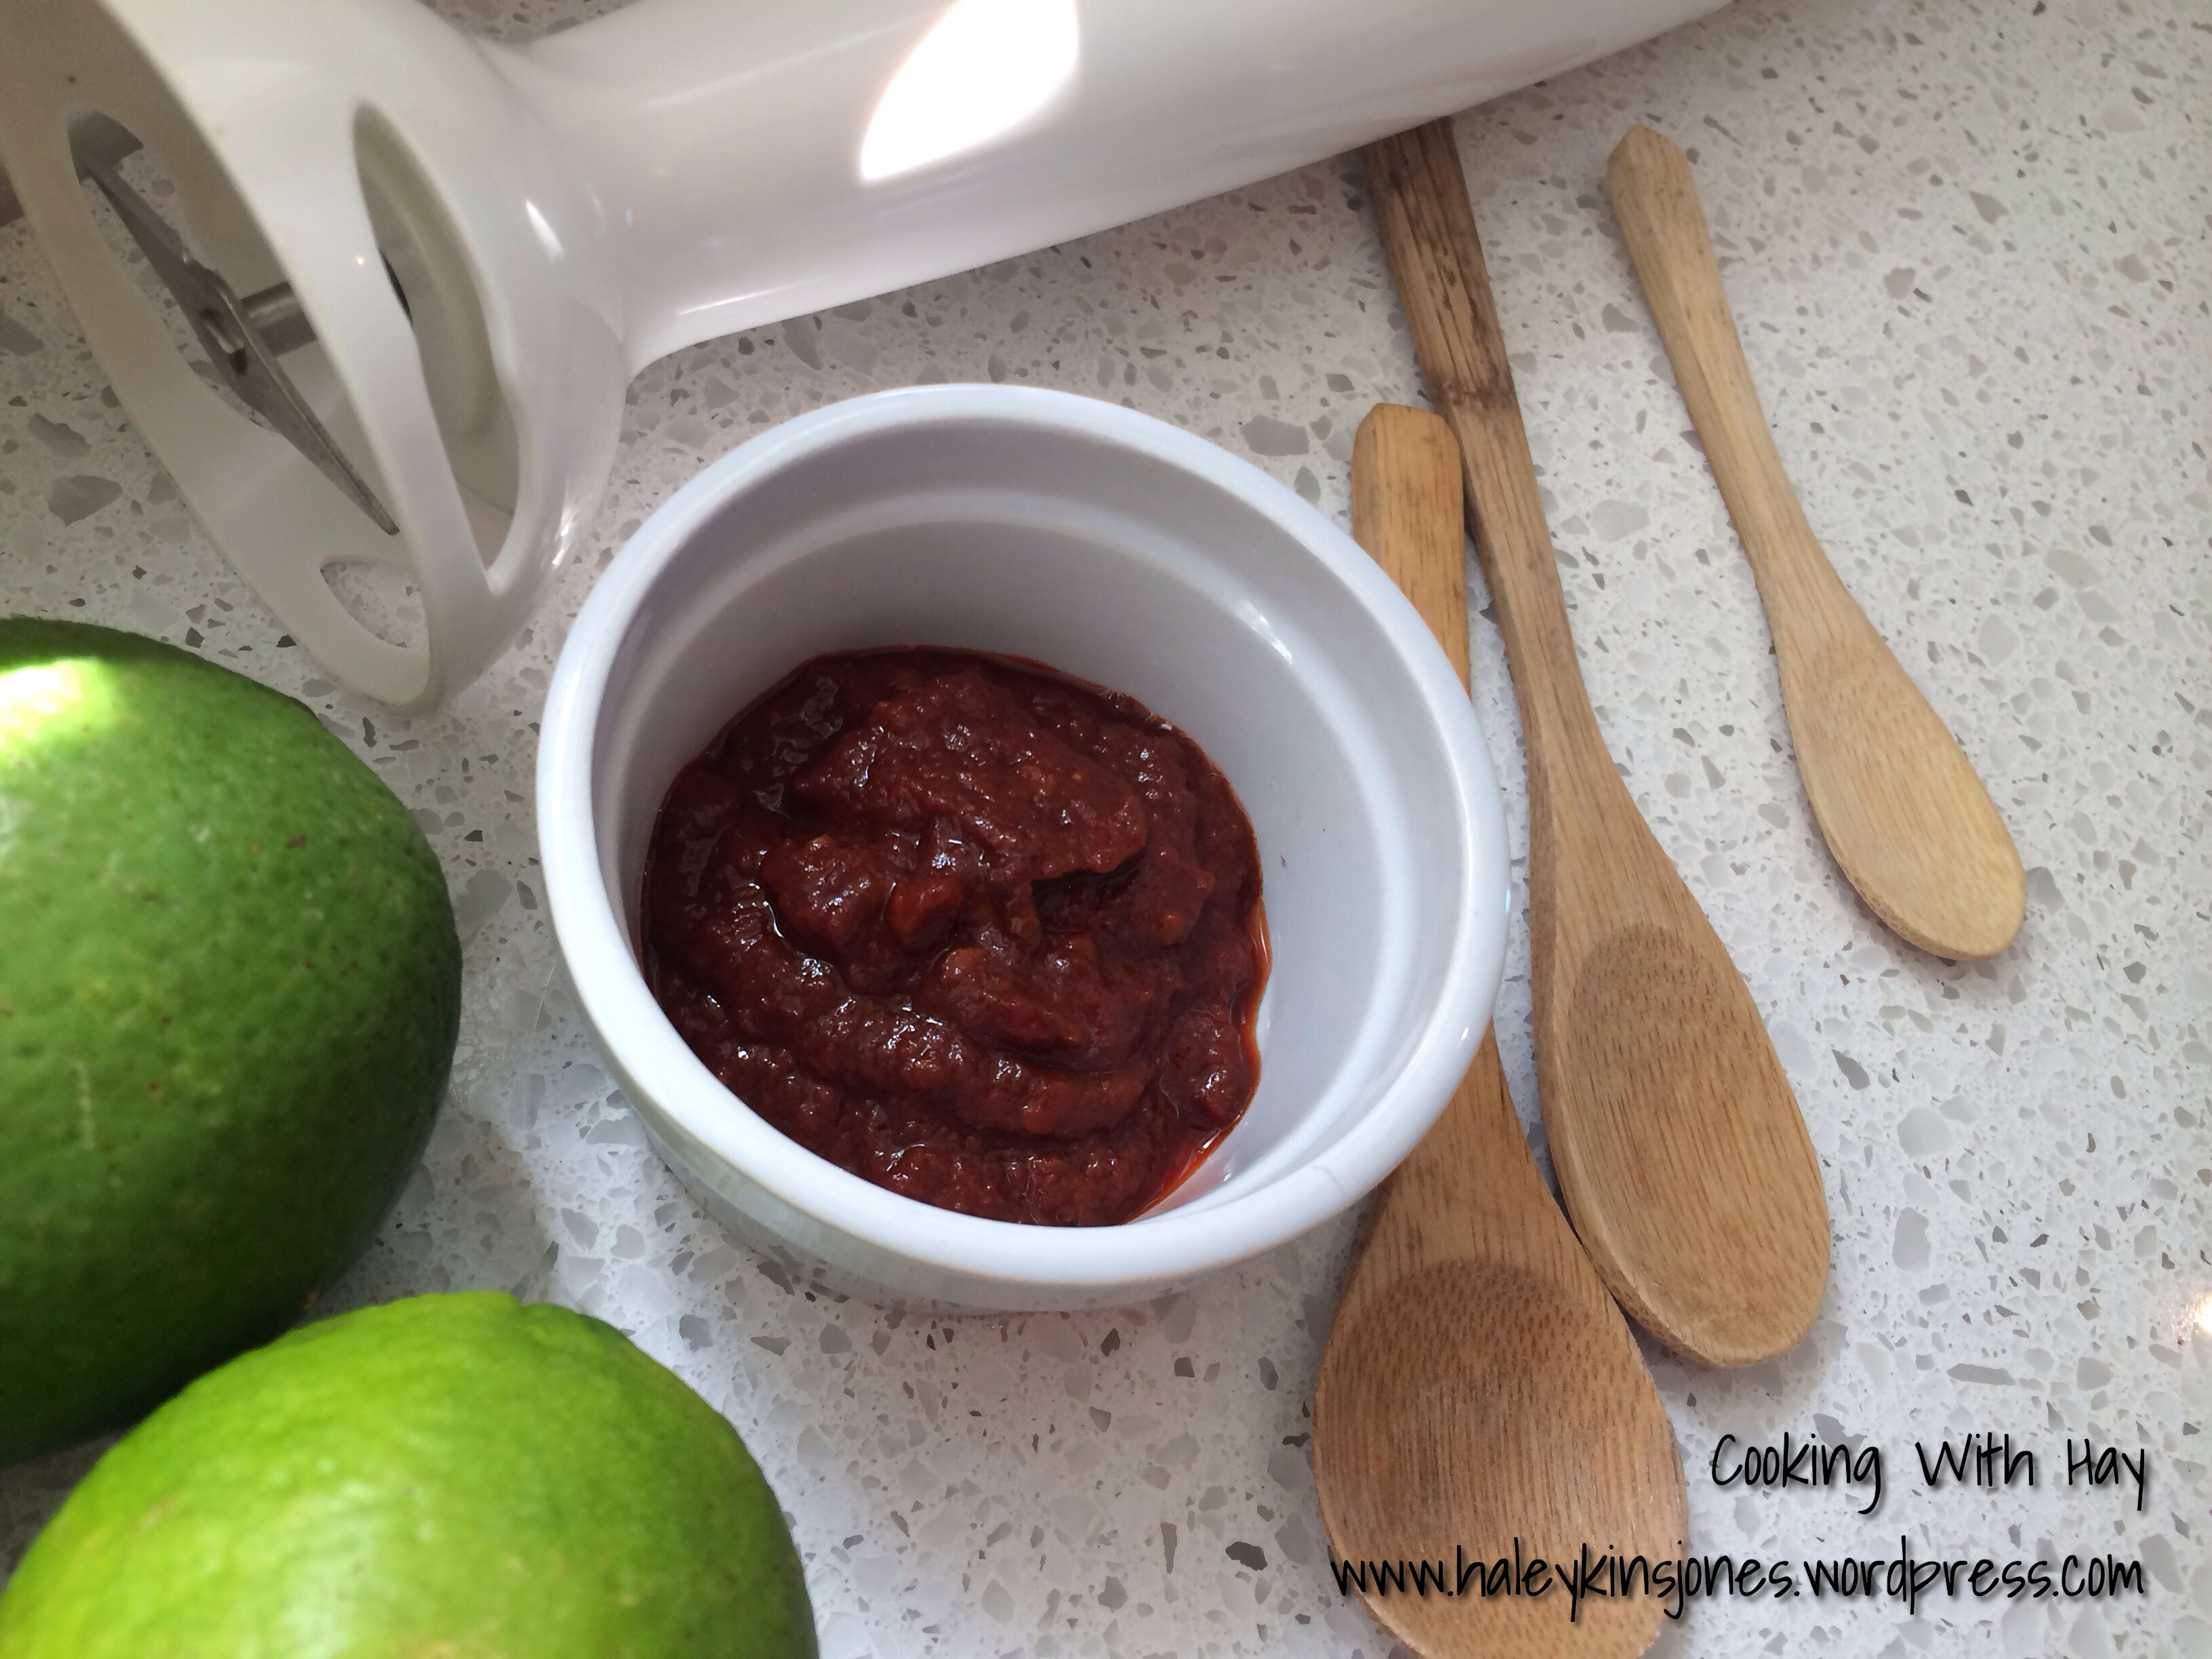
Last week I made some Blackened Salmon Tacos.  There are no words for this easy recipe and there was also no room…. no room to eat as much as I could have, that’s for sure!  Wow, great way to enjoy some tender flaky juicy fish this summer. The recipe for the Blackening Seasoning will be my next blog post.  This is the dressing that I always make and it was great on the fish tacos.

Hope you like!


CHIPOTLE CILANTRO DRESSING OR DIP

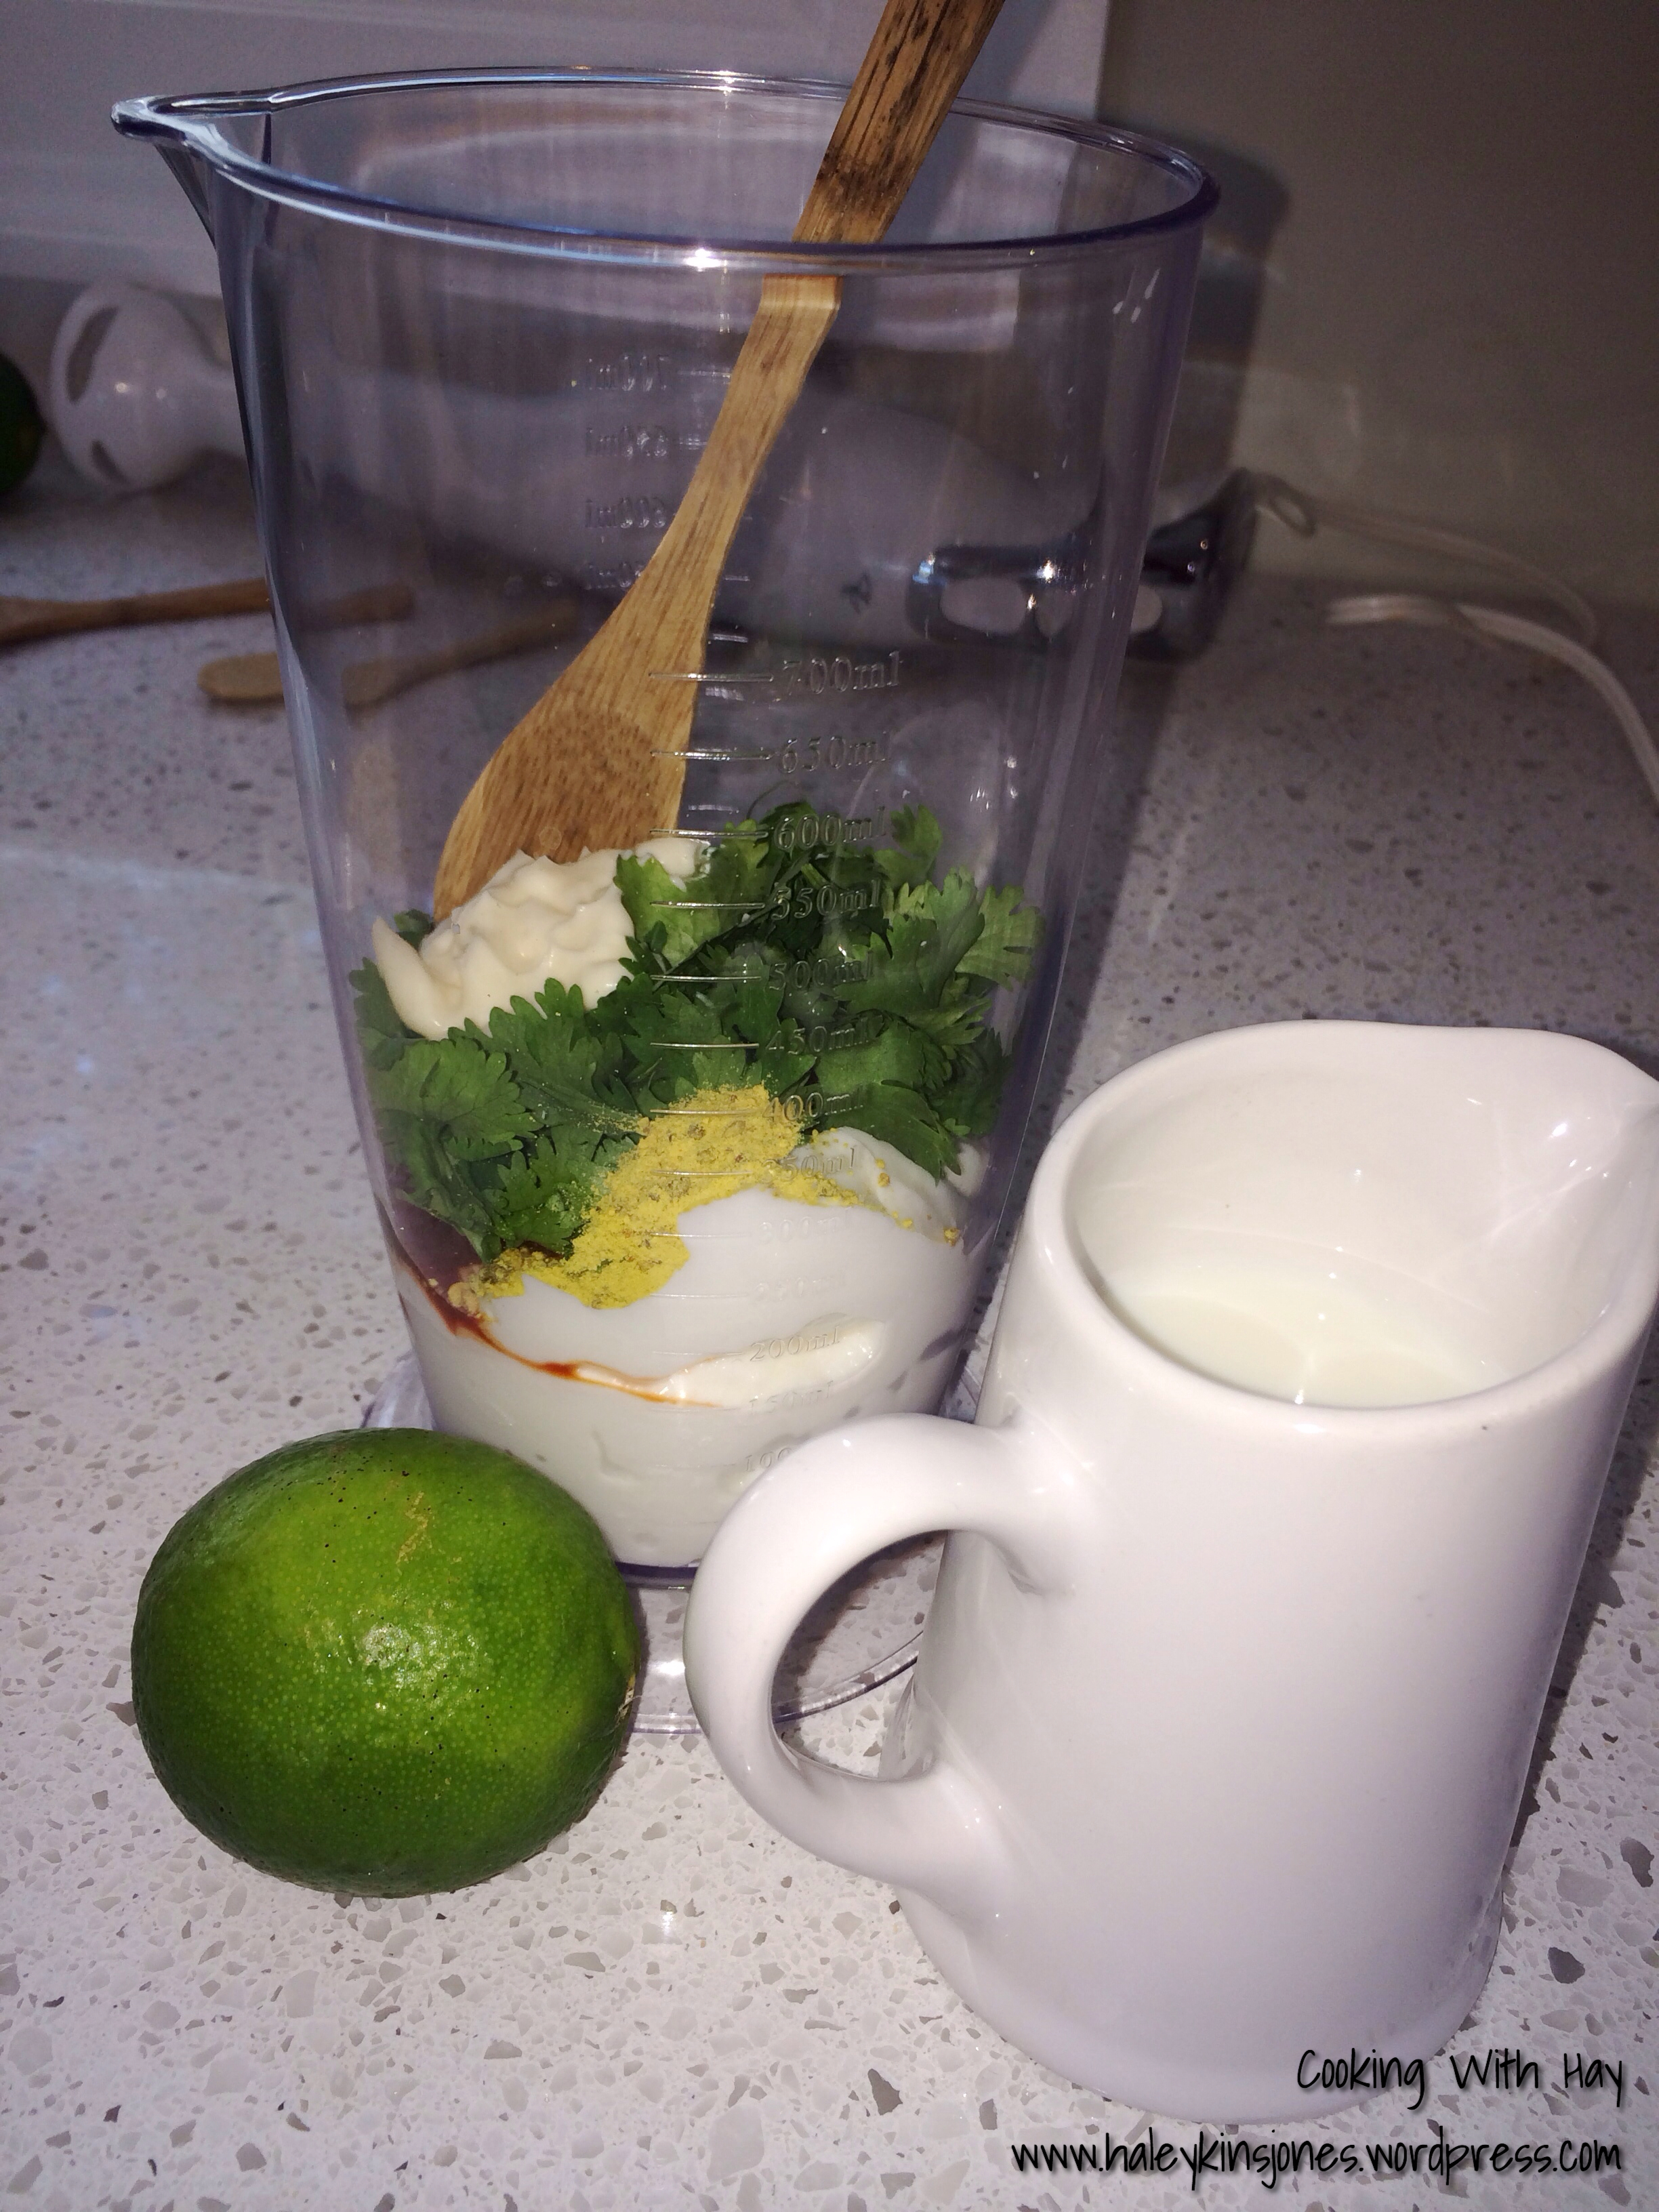
♥ 1½ C FAT FREE SOUR CREAM
♥ 1 T LIGHT MAYO
♥ 1 T MILK
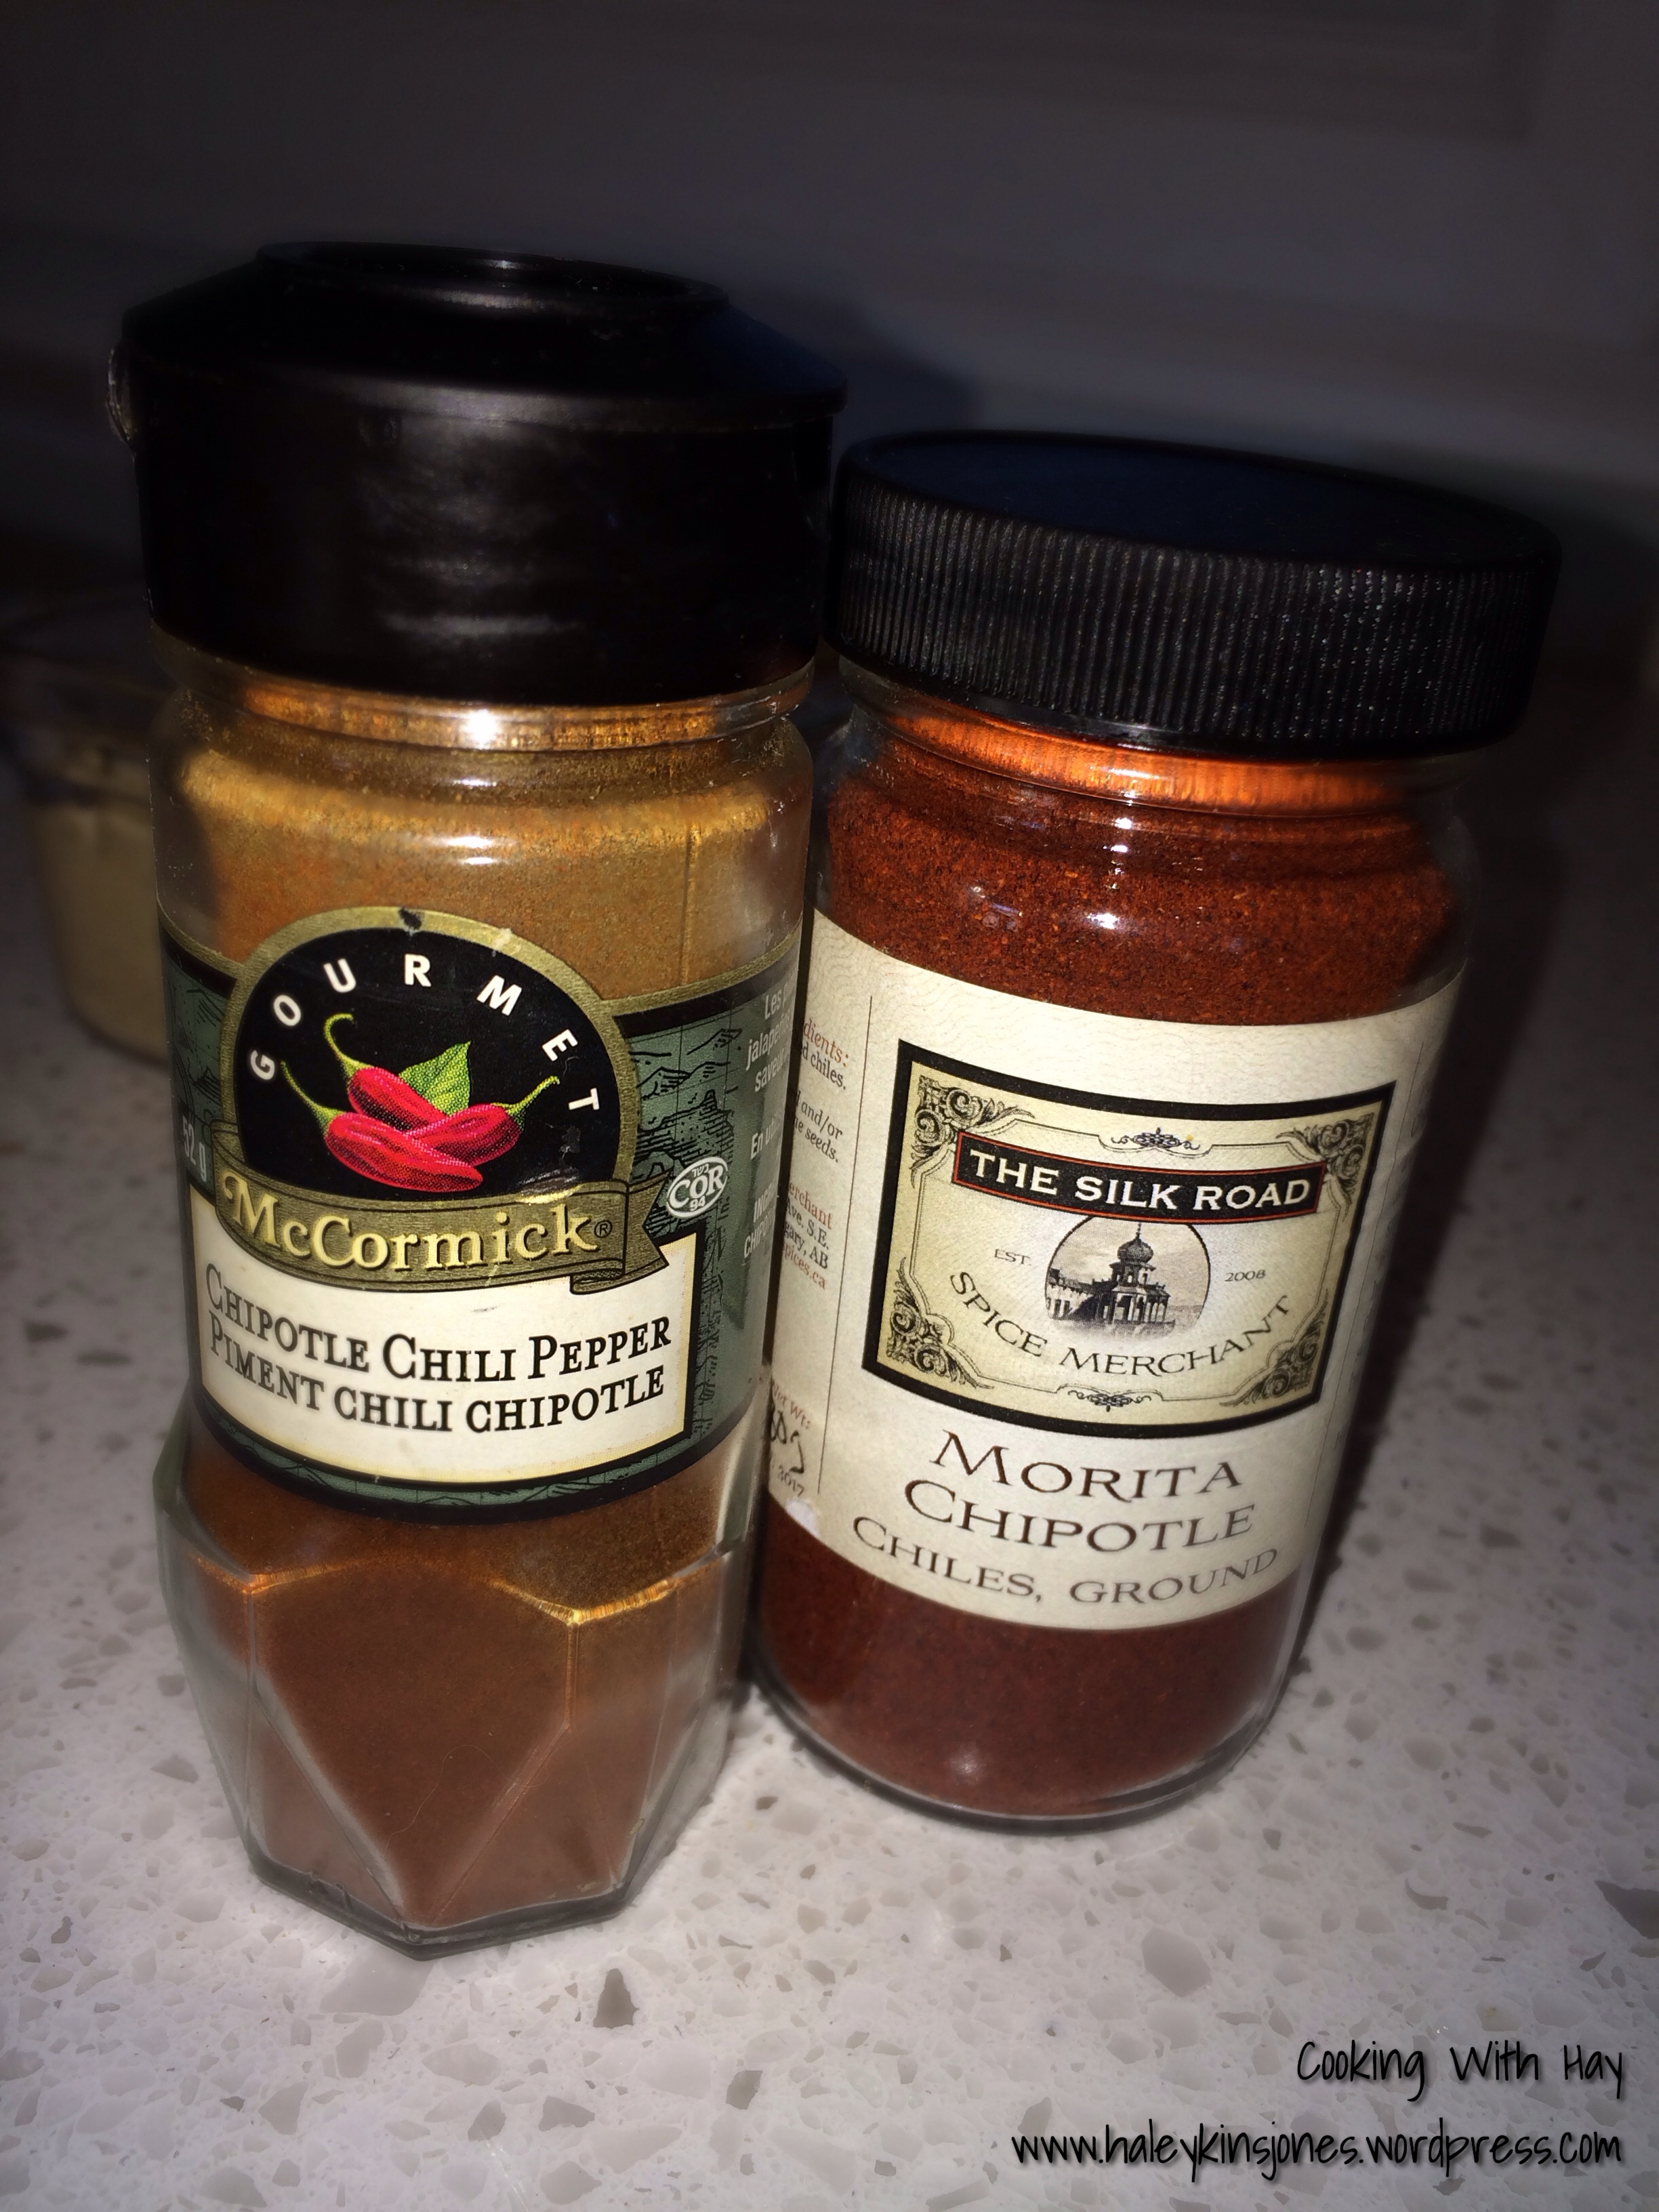
♥ 1 T CHIPOTLE PUREE
♥ 1 TSP CUMIN
♥ ½ TSP CRUSHED BEE POLLEN
♥ HANDFUL FRESH CILANTRO
♥ JUICE OF ONE LIME

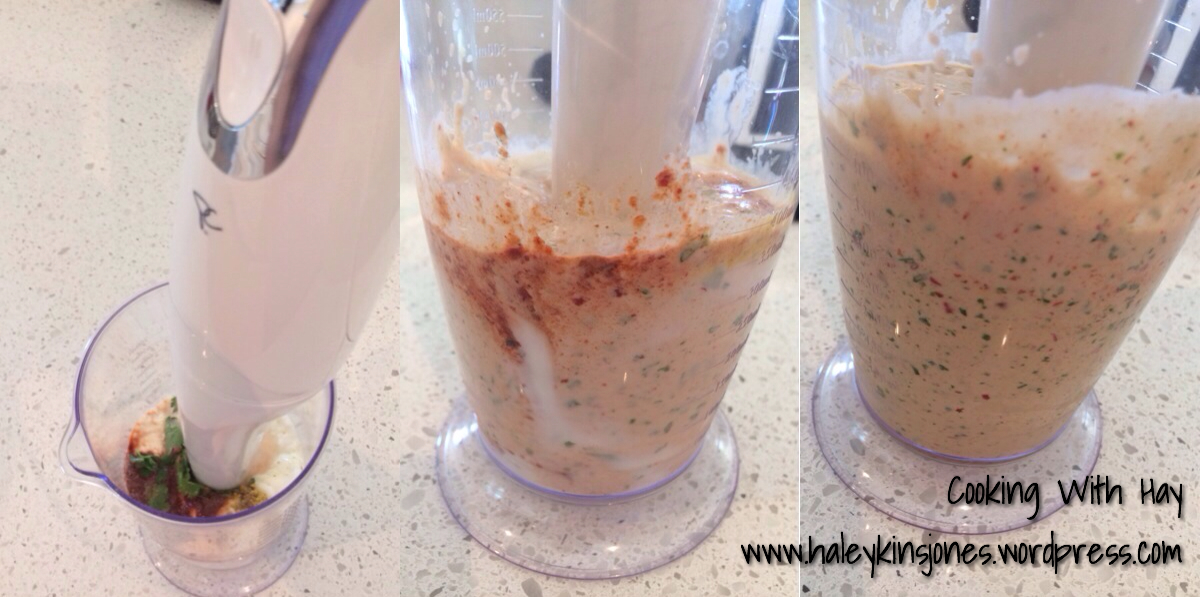
Blend together using an Immersion/Hand Blender or a Food Processor.
Chill in the fridge until its time to serve.


↑ I love me some chipotle! I buy chipotle peppers in small cans in adobo sauce and puree them with a hand blender or food processor. Chipotles pack a punch let me tell ya. The heat from these peppers is potent and smoky and is great for everything.
**If you don’t do heat. Use a very small amount, like 1-2 teaspoons of pureed chipotle for this recipe instead of the requested amount.**

↑ If you don’t have canned chipotles in adobo sauce then you can certainly use a dry powder version, there are many out there. I have these 2 in my pantry. Remember that the longer the dressing sets for the more the flavour is enhanced, and therefore making it much much much hotter the longer it sits.

↑ My Immersion Blender came with this cool mixing vessel. What I love about this machine compared to a hand mixer or hand beater is that it will stand up inside the vessel and not topple over. Flat bottom makes it easy to leave it standing and use both hands to if you need to pause to get an ingredient or whatever. Anything to help keep the counters less messy.

↑ Bee Pollen is one of Mother Natures little goodies. I add a little to every salad dressing I make. You can add it to anything though; soups, sauces, whatever you like. The flavour is like a flower. Its got a floral taste when it hits your tongue. It comes in the natural foods section of your grocery store and looks like little gold nuggets. I grind them down with a mortar and pestle. I have a small one that I use for spices and such. Another inexpensive way to make your kitchen/cooking life a little easier.

Here’s some info on Bee Pollen I picked up from http://www.mercola.com

What Is Pollen?
Pollen is the male seed of flowers. It is required for the fertilization of the plant. The tiny particles consist of 50/1,000-millimeter corpuscles, formed at the free end of the stamen in the heart of the blossom. Every variety of flower in the universe puts forth a dusting of pollen. Many orchard fruits and agricultural food crops do, too.

Bee pollen is the food of the young bee and it is approximately 40% protein. It is considered one of nature’s most completely nourishing foods. It contains nearly all nutrients required by humans. About half of its protein is in the form of free amino acids that are ready to be used directly by the body. Such highly assimilable protein can contribute significantly to one’s protein needs.

To view the full article, please click here.

↑ Place all the ingredients into the mixing vessel and blend away. Lift the machine up and down to get it good and blended. Oh so easy I want to blend everything in sight.

photo 9

↑ ❤ Immersion Hand Blender! ❤ NEW TOY! LOL ❤

↑ COMING UP NEXT → Blackened Fish Tacos, using this dressing!
Stay Tuned and if you’d like…. FOLLOW MY BLOG

❤️ Thanks for visiting, if you liked this blog please click LIKE below. If you want to follow my blog please scroll to the bottom, click the FOLLOW button and enter in your email address.
Love Haleykins❤️
**Please click OLDER POSTS, (bottom of the page)
or the RECIPES tab (top of the page) to see more**
Tagged , , , , , , , , , , , , , , , , , , , , , , , , , , , , , , , , , , , , ,

GARLIC & CHILI PEPPER HUMMUS

20140316-230143.jpg
GARLIC & CHILI PEPPER HUMMUS
1 CAN CHICK PEAS, rinsed and drained
1/4 CUP TAHINI
2 TBSP. LEMON JUICE
1 1/2 PRE MADE HOMEMADE GARLIC BALLS
2 TBSP. OLIVE OIL
WATER

I mix everything together in my food processor, except the olive oil. I once read that olive oil in a food process or more specifically, a blender, can turn the oil bitter and also cloud the bowl of the food processor. Well I love my food processor so I don’t take the chance. Once everything is smooth and creamy I transfer it to a mixing bowl and stir in the olive oil. Then if it’s thick, I add water until its’s the proper consistency.
20140316-230329.jpg
Of course, you can use as much or as little, garlic, as you want.
20140317-085957.jpg
Chopped up the remaining fresh veggies that I had in the crisper drawer to go with.
Actually, switch that around, I made the hummus so I had something to go with the veggies. As much as I love my breads, pita, naan, mmmmm naan…. this was a refreshing option.
20140316-230205.jpg
Kinda well needed after a not so healthy weekend. Ugh….
I wasn’t going to blog this one as I’m pretty sure most of you make hummus often, however, it just looked so nice and yummy, especially on the new surface prop Hubby made me! This is a classic dish and always a favorite. I do have some other Hummus recipes to show you. Some that are completely the opposite of classic. Hope you come back to visit. Stay tuned!
20140316-230221.jpg

❤️

Thanks for visiting, if you liked this blog please click LIKE below.
If you want to follow my blog please scroll to the bottom, click the FOLLOW button and enter in your email address.

Love Haleykins
20131230-210222.jpg

**Please click OLDER POSTS, {below} to see more**

❤️

Tagged , , , , , , , , , , , , , , , , , , , , , , , ,

CRISP CUCUMBER SALSA

As promised yesterday, here is another super delicious recipe involving…. a cuke!
I saw this and it looked like a neat thing to try seeing as tho I just made a traditional salsa a few days ago. I already had all the ingredients needed in the fridge and I just love when that works out. Now, when I say, “this just may be the very best salsa in the world!” well, this is one of those times that you need to believe me! But you don’t have too. Give me just a few more minutes to tell you how to make it, then you give it a try and you be the judge. Seriously, if you like to cook or make stuff in the kitchen, heck ya you’re going to love it. If you’ve never made anything, then this is a perfect way to start. Regardless, please just try it.

Hubby had barely walked in the door yesterday and I had put it in front of him. He couldn’t stop eating it and he’s really not a big salsa guy. “Yes, success!”
20140310-214843.jpg
HERE’S WHAT YOU’RE GOING TO NEED:
2 CUPS CUCUMBER, PEELED, DESEEDED, FINE DICED
1/2 CUP ROMA TOMATOES, FINE DICED
1/4 CUP RED ONION, FINE DICED
1 JALAPENO PEPPER, DESEEDED, MINCED
4-1/2 TSP. MINCED CILANTRO
1/2 A SMALL PRE MADE HOMEMADE GARLIC BALL {or 1 clove minced garlic}
1/4 CUP FAT FREE SOUR CREAM
1-1/2 TSP. LEMON JUICE
1-1/2 TSP. LIME JUICE
1/4 TSP. CUMIN
1/4 TSP. SEASONING SALT
ORGANIC GLUTEN-FREE TORTILLA CHIPS, NO SALT

20140310-214934.jpg
HERE’S WHAT YOU’RE GOING TO DO:
In a mixing bowl add the cucumber, tomatoes, onion, jalapeno, cilantro and garlic.
In a seperate bowl combine the sour cream, lemon and lime juice, cumin and seasoning salt.
Add the sour cream mixture to the veggie mixture and gently toss to combine.
Enjoy with organic gluten-free tortilla chips.
20140310-214850.jpg
Last but not least, low sodium YO! The is mostly cucumber rather than tomatoes like a traditional salsa. Sure there’s seasoning salt in it but there is salt in traditional salsa also so this is definitely a win win.
Can’t wait for summer bbq’s with this one.

❤️

Thanks for visiting, if you liked this blog please click LIKE below.
If you want to follow my blog please scroll to the bottom, click the FOLLOW button and enter in your email address.

Love Haleykins
20131230-210222.jpg

**Please click OLDER POSTS, {below} to see more**

❤️

Tagged , , , , , , , , , , , , , , , , , , , , , , , , , , , , , , ,

CUCUMBER & GARLIC SALAD DRESSING

Oh so many wonderful things you can do with a cucumber…… 😊
Head out of the gutter!
Here is 1 fun thing, and tomorrow I’ll share another! Thanks for visiting and please help me out by clicking LIKE and SHARE on Facebook

20140310-185918.jpg

WHAT YOU’LL NEED:
2 CUCUMBERS {PEELED, DESEEDED AND PUREED, I used my food processor, and include the juice from the cucumbers}
1/4 CUP CHOPPED PARSLEY
1/4 CUP CHOPPED CHIVES
1/2 PRE MADE HOMEMADE GARLIC BALL {or 2 cloves minced garlic}
1 CUP FAT FREE SOUR CREAM
1/2 TSP. SEA SALT
1 1/2 TSP. GROUND PEPPER
WATER OR MILK TO THIN {optional}

WHAT TO DO:
I use a melon baller to deseed cucumbers but you can use a small teaspoon if you don’t have a melon baller. I then pureed the cucumbers in my food processor. Dump the pureed cukes and it’s juice into a mixing bowl.
20140310-185947.jpg
Add in the chopped herbs. Now if you’re like me and still learning to cook…. you might not use chives all that often. I bought freeze dried chives so that I don’t waste anything. Once you add them in they will soften and be just the same as if they were fresh so not to worry.
20140310-185956.jpg
Add the garlic to the mixing bowl. Cucumber, parsley, chives, and garlic. Starting to look like something the dog puked up? K then we’re on the right track. LOL
20140310-190007.jpg
Stir in the sour cream, salt and fresh ground pepper.
20140310-190034.jpg
Using a funnel and a rubber spatula, {how did I ever live without a funnel?} pour/scrape every drop of this easy, healthy homemade salad dressing into some type of pretty decanter. I picked up this glass beauty from my local $ store. 🙂 Garnished it with a cucumber peel twist 🙂
20140310-191026.jpg
Now, whip up a fresh salad with all those leftover veggies you have in the crisper drawer before they spoil and Hubby scowls at you….. not that that happens here or anything…. 🙂 JUST MAKE SURE TO USE UP ALL YOUR VEGGIES. I made up a great salad with romaine lettuce, mushrooms, cucumbers, celery, carrots, tomatoes and peppers.
20140310-190044.jpg
Serve this after it’s chilled up a little bit in the refrigerator. Then, sit back and enjoy clean eating and healthy living. Between my Chipotle Southwest Dressing and my Mom’s, MARIANNE’S HOMEMADE CAESAR SALAD DRESSING I doubt I will ever buy salad dressing again. Knowing exactly what we are putting into our bodies is comforting when it’s food like this.

I’m going to be completely honest and maybe a little vain but I am smiling…. I’m smiling because I’m proud of the change we are making. We were always conscious of the crap food we would eat but we let our tastebuds make the decisions. We can do this, we can continue this.
Today this blog passed 7000 views. I just can’t believe that it’s been looked at over 7000 times. Today my Facebook page, Cooking With Hay, reached a new high as well. Over 100 people have kindly LIKEd my FB page. Thank you Thank you Thank you. The higher these numbers grow, the more inspired and eager I get. I’m constantly browsing for new things to try and yet they are things that are quite basic, fairly common, and well, really good. But it’ real food for real people. When I start whipping up Crown Roasts….
20140310-200754.jpg
…then it’s a whole different kinda ballgame. {Although I hear they aren’t as hard as they look… 🙂 }
20140310-190051.jpg

This dressing came out with a thicker consistancy that most salad dressings. We like it this way but it was pretty thick. You can thin it with a little bit of water or skim milk if it’s too heavy for you. I’m going to leave mine as is and use it as a dip for the rest of the remaining veggies, as it’s just the perfect consistancy for a dip as well.

Found on Pinterest from Taste Of Home

❤️

Thanks for visiting, if you liked this blog please click LIKE below.
If you want to follow my blog please scroll to the bottom, click the FOLLOW button and enter in your email address.

Love Haleykins
20131230-210222.jpg

**Please click OLDER POSTS, {below} to see more**

❤️

Tagged , , , , , , , , , , , , , , , , , , , , , , , , , , , , , , , , , , , , ,

GRILLED CHICKEN FAJITA SKEWERS WITH CILANTRO AND LIME

In keeping with the spirit of Mexico, how about another easy meal idea using some of that homemade Fajita Seasoning we made last month?
I will never buy a store bought packet after using this simple recipe. The seasoning is very mild, feel free to tip the chili powder shaker a little more if your tongue likes to dance as much as mine. Make this up and then carry on below for the Grilled Chicken Skewers with Cilantro and Lime recipe.

🌵

FAJITA SEASONING
2 tablespoons – cornstarch
4 teaspoons – chili powder
2 teaspoons – salt
2 teaspoons – paprika
2 teaspoons – sugar
1.5 teaspoons – chicken bouillon crushed
1 teaspoon – onion powder
1/2 teaspoon – garlic powder
1/2 teaspoon – cayenne powder
1/2 teaspoon – cumin

Mix it all together and keep it in a dry container.

Approximately 2 tablespoons of this mixture equals a packet of that store bought stuff.
This recipe made just over 6.5 Tablespoons.

This will save you money too as those packets can start to add up after a while.

Please give it a try!
If you do make it, please leave me a comment below and let me know what you think.
Click here to see my previous blog post for FAJITA SEASONING

🌵

20140307-181409.jpg
The great thing is that there is no oil or butter used in this one, therefore super healthy. Wooooo Hooooo Anything to keep the waistline from growing. Don’t fret, these are so good you’d never know they weren’t drizzled in expensive olive oil or dipped in seasoned butter. You can thank me later, no worries 😉

Here’s what you’re going to need:
1 green pepper
1 yellow pepper
3 roma tomatoes
1/4 onion
cilantro
lime
Fajita Seasoning

20140307-180601.jpg
For the 5 skewers I used 4 chicken breasts. I cut the breasts in half so they were thinner then sliced those up to make bite sized pieces. The thinner the pieces the faster the will cook. You don’t want to completely burn your veggies on the bbq while you’re waiting for the chicken to cook. Does this make sense. Some of the chicken pieces were ultra thin so I stacke 3 pieces together. This make for juicy chicken bites. I hope this make sense. Look at the pic above to understand.
20140307-191515.jpg
Remove the ribs and seeds from the peppers. This is how I do it. Flip the pepper onto it’s stem and slice down the lovely pepper lumps. Check it out! 🙂 This leaves the ribs and seeds intact, less mess and less work for you.
Slice the tomatoes in half lengthwise and scoop out the seeds and rib stuff with a spoon. I like the tomatoes to be very thin. I used a sharp knife and sort of fillet the tomatoes. For the onions pull off some of the wider outer layers. Cut them up the same size as everything else. My pieces were about 1″ x 1″. Layer the veggies and the chicken, alternating as you go. Push them together real tight and you’ll have less burny bits. 🙂
20140307-180611.jpg
Lay your skewers in a nice big dish. I made these up early so they were going to be going in the fridge….. be sure to make room in the fridge before hand if this is your situation. Nothing worse than having your hands full with an oversize tray of something and no where to put it and no hands free to move things about. Or don’t, and then bitch about it later like I do almost everytime.
Sprinkle on some of the homemade Fajita Seasoning that you made up earlier…. if you didn’t make it, I suppose you could use a store bought packet. I won’t tell anyone…..
Flip the skewers over and sprinkle the other side. This was enough for us but like I said way up there at the top, the seasoning is quite mild for my tastebuds. You could sprinkle more on the other 2 sides if you want more. This was just nice and light and allowed for the veggie flavour to come through.
20140307-180625.jpg
Chop up some fresh cilantro or don’t if you get your knickers in a knot over it 🙂 Now squeeze on some fresh lime juice
20140307-180638.jpg
Grill these babies on med-high I did 8 minutes then flipped and did 3 minutes then flipped to one of the other sides and did 3 minutes. They were cooked thru by this time and I took them off. But you could put the last side on for a couple of minutes if you wanted.
20140307-184139.jpg
Here’s a “Visual Summary” I made this for Pinterest 😉 😉 Wham, Bam, Thank You, Ma’am!
20140307-180650.jpg
We served this up with some light and fluffy rice. That’s it that’s all. Clean eating is best and still so tasty. I use a rice cooker that my sister gave me years ago. However I created my own directions because everytime I did as I was told the rice was hard and not yet done. So I don’t know what I do wrong but it never ever turned out so here’s what I do now. I measure 2 cups of dry rice and rinse under cold water in a strainer for close to 5 minutes. This removes alot of the starch and then when it cooks you won’t get that browned or scortched bottom. Although I was reading up on some Dominican cuisine and it said that some rice dishes are delberately cooked to have that type of browned bottom. I was intrigued. Here read up for yourself My Dominican Food Drain the rinsed rice and dump it in the rice cooker. Then I add twice as much cold water. So 4.5 cups…. ya, weird right…. the directions all say equal? Or at least mine does. How do you make your rice?
20140307-205543.jpg
As you can see, Hubby enjoyed. I too enjoyed and even though it was cold and rainy out on the deck manning the bbq like a boss…. I knew it was much milder here than my friends weather back east. So I mustered up my big girl panties and put on some boots. Yup that’s it some booty shorts and boots, oh and well a hoodie (I refuse to cover up these tanned legs while they are still tanned legs) and grilled those babies to Hubby’s preference. Hope you enjoy them like we did.
PS this is a beautiful christmas gift from mom! My Gordon Ramsay Rectangular Roaster/Dish from the Royal Doutlon Collection!!! EEEeeeeek It’s massive and I love love love it.
20140307-212621.jpg

🌵

Thanks for visiting, if you liked this blog please click LIKE below.
If you want to follow my blog please scroll to the bottom, click the FOLLOW button and enter in your email address.

Love Haleykins
20131230-210222.jpg

**Please click OLDER POSTS, {below} to see more**

Tagged , , , , , , , , , , , , , , , , , , , , , , , , , , , , ,

SIMPLE SALSA

Hello Everyone!! It’s been quite a while since I did a post. I apologize for the hiatus, my mind has been preoccupied with my trip to Mexico. Ok let’s be real. I spent some weeks going through the pantry and freezer putting together things, I had to create some meals…. It was time to clear out a bunch of those one off cans of who knows what mixed with a little of this and a little of that. Nothing pretty, a little weird, but it was food in the belly and that’s all that matters. Really tho my mind had been in the clouds counting down the days to our little vacation in the sun. We are home now and yet the spirit of Mexico lives on in our home. We purchased a wooden bowl set for salsa, guac, and chips and I just love them. I’ve wanted a set for a long time now. Ever since our first trip to Mexico back in 2011. I was so excited to pull them out of our suitcases that I hoped in the truck and took of to the market for supplies. Simple Salsa is up next.
20140306-154823.jpg

🌵 SIMPLE SALSA 🌵

3 ROMA TOMATOES (choose the harder ones over the soft ones)
1/4 WHITE ONION
1 SERRANO PEPPER
1 JALAPENO PEPPEER
1/2 LIME
1 PRE MADE HOMEMADE GARLIC BALL {or 4 minced cloves of garlic}
CILANTRO
SEA SALT
20140306-193406.jpgStart with the tomatoes, hard roma tomatoes work best. I cut them in half lengthwise and then cut those in half lengthwise again. Scrape out all the seeds and juice. Dice them up really fine. Smaller bits are easier to scoop up.
20140306-195757.jpg
Dice up the onion really fine as well. Same size as you did the tomatoes.
20140306-154853.jpgWhen chopping up peppers be sure to wear gloves. Bell peppers, you’ll be fine but these hot peppers require gloves. I burnt my left thumb with burns from these peppers once before and lets just say I’ve learned my lesson. My fingerprint is not the same as it once was. These are the best ways to cut up peppers like these ones. For Jalapeno’s, cut off the top part with the stem and slice off the parts not attached to the ribs. See the first 2 pictures above. For Serrano’s, since these ones are even thinner, cut of the top part again with the stem and then cut the pepper in half lengthwise. With the tip of a sharp knife, carefully run it under the ribs of the pepper, removing them in one clean cut. Take a look at the 3rd picture above.
20140306-154859.jpgOnce again, dice up the peppers nice and fine…. I like these to be very very tiny. Mince them. That’s a more appropriate word.
20140306-154926.jpgSqueeze the juice from half a lime into the bowl and let the very merry tomato marinating party begin. Add in the thawed PRE MADE HOMEMADE GARLIC BALL
20140306-154933.jpgChop up a few fresh cilantro leaves or if you are one of those people that says “I don’t like cilantro” that I shake my head at well then simply omit the cilantro from your Simple Salsa. Easy Breezy…
20140306-154941.jpgThe whole thing comes together all quite quickly and look it’s even the colours of the Mexican flag.
20140306-154950.jpgLet this marinade together for at least a few hours in the fridge before serving in and airtight container. Don’t worry about it not being to ‘wet’ as the salt will draw out the liquids in the tomatoes, onions and peppers and mix with the lime juice. It’s to die for delicious and worth the wait.
20140306-154956.jpgWe opted for organic tortilla chips, gluten free and that had the lowest calorie content. Que Paso chips from the organic section of the grocery store. I just love how it looks in the new mexican salsa bowl we brought home.
Scarf it up and imagine a mariachi band playing, the ocean waves crashing and the sun beaming down warming your skin.
20140306-205547.jpg
Ahhh Mexico, we love and miss you already.
20140306-210224.jpg
Thanks for visiting, if you liked this blog please click LIKE below.
If you want to follow my blog please scroll to the bottom, click the FOLLOW button and enter in your email address.

Love Haleykins
20140306-210052.jpg
**Please click OLDER POSTS, {below} to see more**

Tagged , , , , , , , , , , , , , , , , , , , , , , , , , , , , ,

Salmon with Sriracha Sauce

I wanted to try something different for dinner the other night and so I saw this recipe for Salmon with a Sriracha type marinade. After making it and trying it, I decided it was too bland, I wanted more flavor so I changed the amounts a bit to make it pop a bit more. You don’t have to use as much if you find it too powerful but I think it’s just right. I had never heard of Sriracha Sauce so I googled it and then I recognized the bottle.

I made a tomato, onion sriracha rice similar to mexican rice as the side dish. Hubby liked both and so I will definitely be making this again.

Salmon with Sriracha Sauce

Salmon With Sriracha Sauce and Lime

Ingredients:
1 Salmon Fillet
Juice and zest of 1 lime
1 ½ Tbsp. maple syrup
3 tsp. Sriracha sauce
½ tsp. coarse sea salt
Sriracha sauce for drizzle
2 Tbsp. coarsely chopped cilantro

Instructions:
Heat oven to 425°.
In a bowl, whisk together juice, zest, syrup, sriracha and salt.
Place salmon on a foil lined greased baking sheet or a baking dish
Pour lime-maple mixture over top.
Roast salmon until cooked through and flaky, about 15 minutes.
Drizzle with more sriracha sauce if desired
Sprinkle with cilantro
Serve.

Give it a go if you’re looking for a new way to serve up Salmon. If you do try it let me know what you think.
Thanks for visiting!

If you want to follow my blog see the follow my blog button right below this post or at the bottom of the page. Just enter in your email address and anything I do will be sent your way. Thanks Guys!

Tagged , , , , , , , , , , , , , , , , , , , , , , , , ,

5 Year Wedding Anniversary in Las Vegas

This year we celebrated our 5 Year Wedding Anniversary in style and this is how it started….

We were cuddling watching TV one night about a week before our 5 year wedding anniversary when he got up and came right back with the envelope…. “To my Wife”

I thought, “how sweet”  but he’s so early… did he get the day wrong?

“Open it” he says and so I do.

the inside was filled, top to bottom, side to side with the nicest words in the world.  I cried.  It also had a little note in it that said to “pack a bag because we are headed somewhere very hot next weekend.  The initials are PH.  It took me a few minutes to put it all together…. Planet Hollywood Resort in Las Vegas.  OMG excited doesn’t even begin to explain it!

Friday couldn’t come soon enough.  Our flight was to leave at 10am friday morning and we completely overlooked traffic and were less than 1 minute away from missing the flight.  They actually didn’t know if we were going to make it on.  Thankfully…. we did!  And we will not push it that late ever again!!  I watched one plane take off for Vegas that I was supposed to be on once before and I’ll be damned if it was to happen again.

10am and we are on the plane…. drinks on the plane… Rum Rum Rum…. YUM YUM YUM

We were happy being in the first row…. we were the last to get on and the first to get off!  PERFECT.  The flight attendants thought we were on our honeymoon because we looked so in love.  So funny and so cute!

We’d been to Vegas before in October but never in the summer.  We were slightly nervous about how hot it was really going to be….  105, 106, 108, and 107 were the temps for the next 4 days!!  I couldn’t even begin to imagine what it was about to feel like….  LIKE A BLOODY HAIR DRYER BLOWING ON YOU FROM EVERY ANGLE.  HOT AS HELL.  But the best part…. no humidity…. which means… you guessed it… no hair frizz.  I was certainly pleased!  The heat was absolutely amazing and we will definitely be going back in the summer months again.  It did not bother us at all!  In fact we loved it.  Even at night it was hotter than any day in the Caribbean….. ahhh I’m actually cold sitting here back home…

We get to our room at Planet Hollywood Resort and Casino…. and get upgraded twice to a Fountain View room and the view was spectacular!  Although the windows needed to be cleaned in a bad way…. we mentioned it upon checkout and were given a substantial refund!  Again… pleased!


To Be Continued…. tomorrow….

Tagged , , , , , , , , , , , , , , , , , , , , , , , , , , , , , , , , , , , , , , , , , , , , , , , , , ,