
Finally, this post is done. I still consider myself a beginner food blogger even though this blog has recently had it’s 3rd anniversary. Blogging recipes takes work. Writing an accurate recipe takes work. It’s work but it’s work I enjoy. I just wish I could do nothing but cook, take pics, and blog… Haha True story.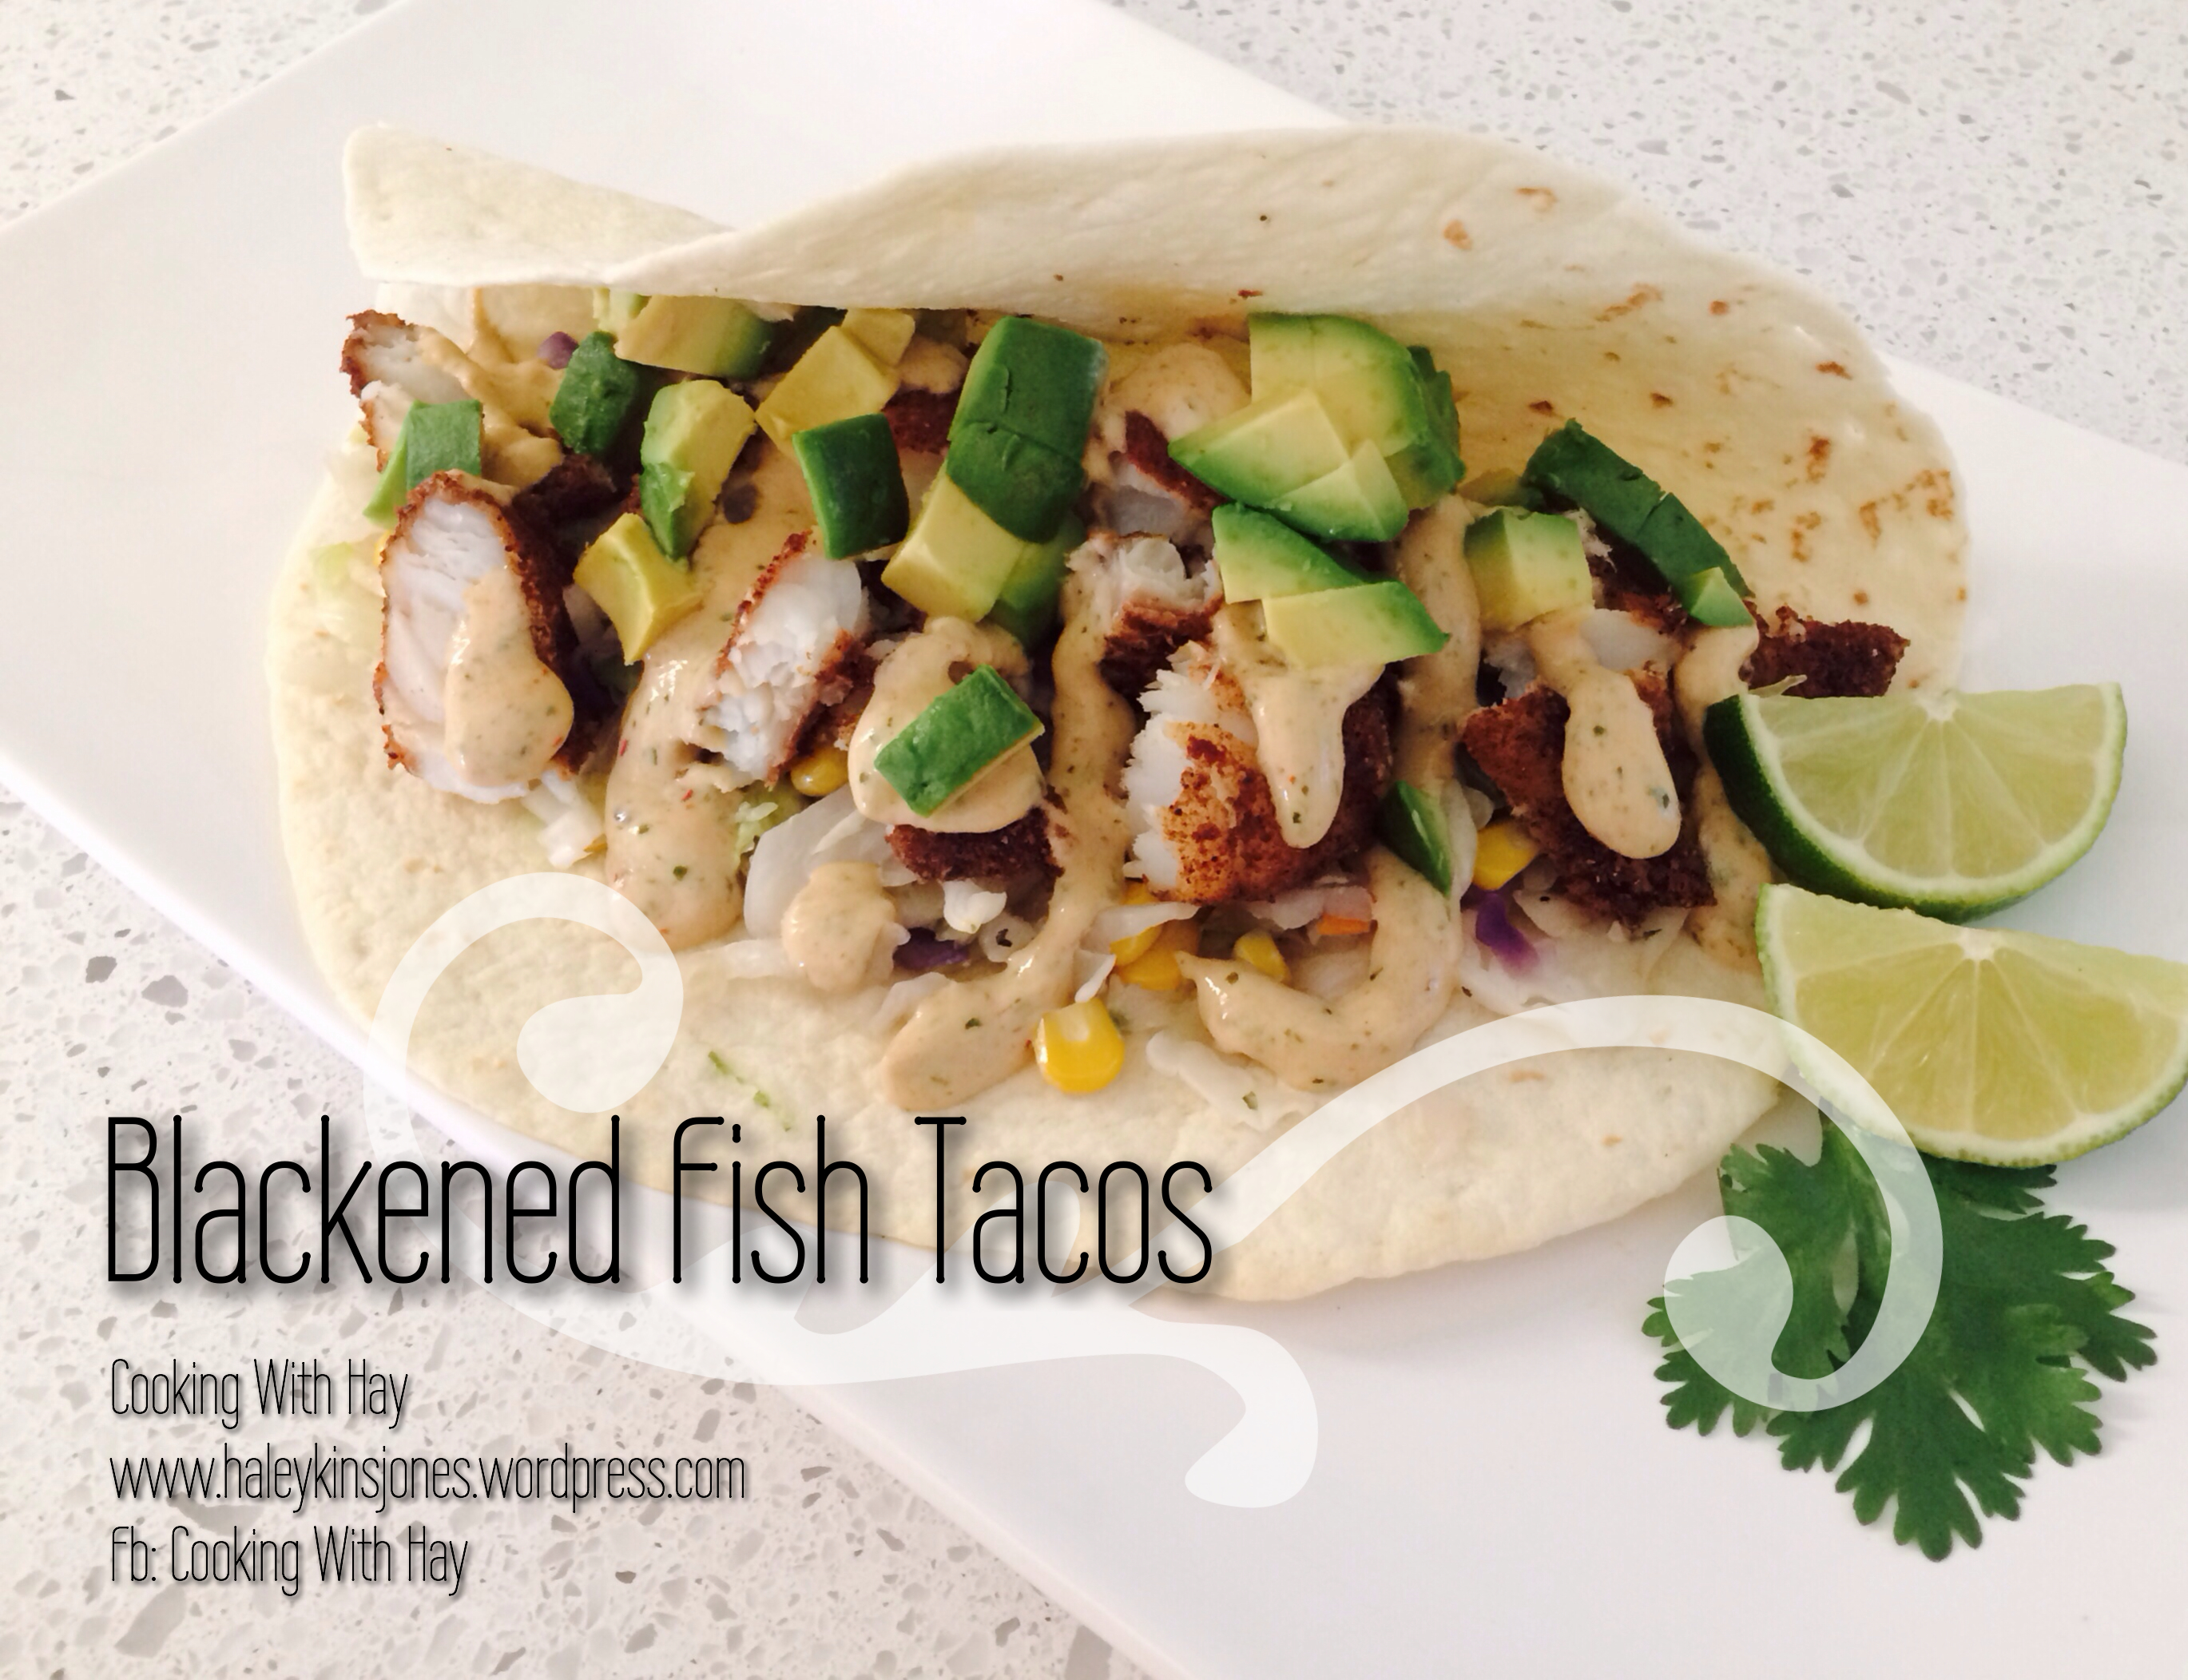
Been talking about these a lot, I know, I apologize for the redundancy. Finally got all the components together….
You’re going to need to check out my last 2 posts!
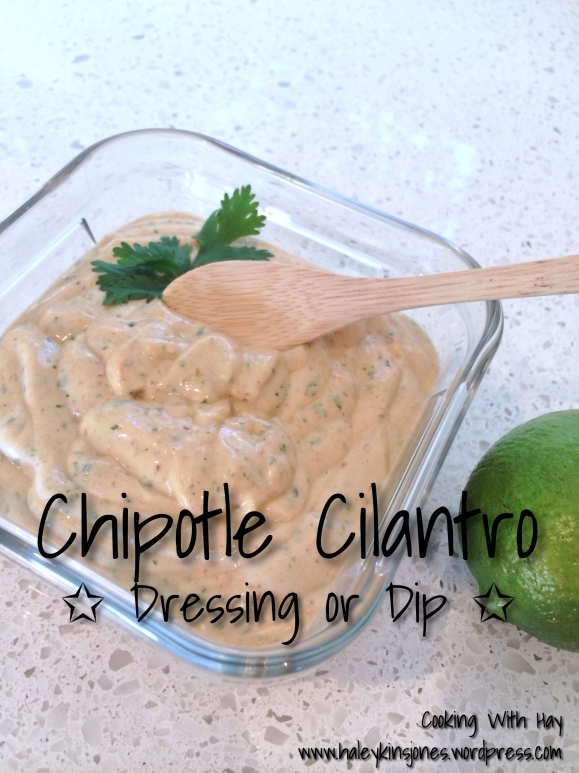
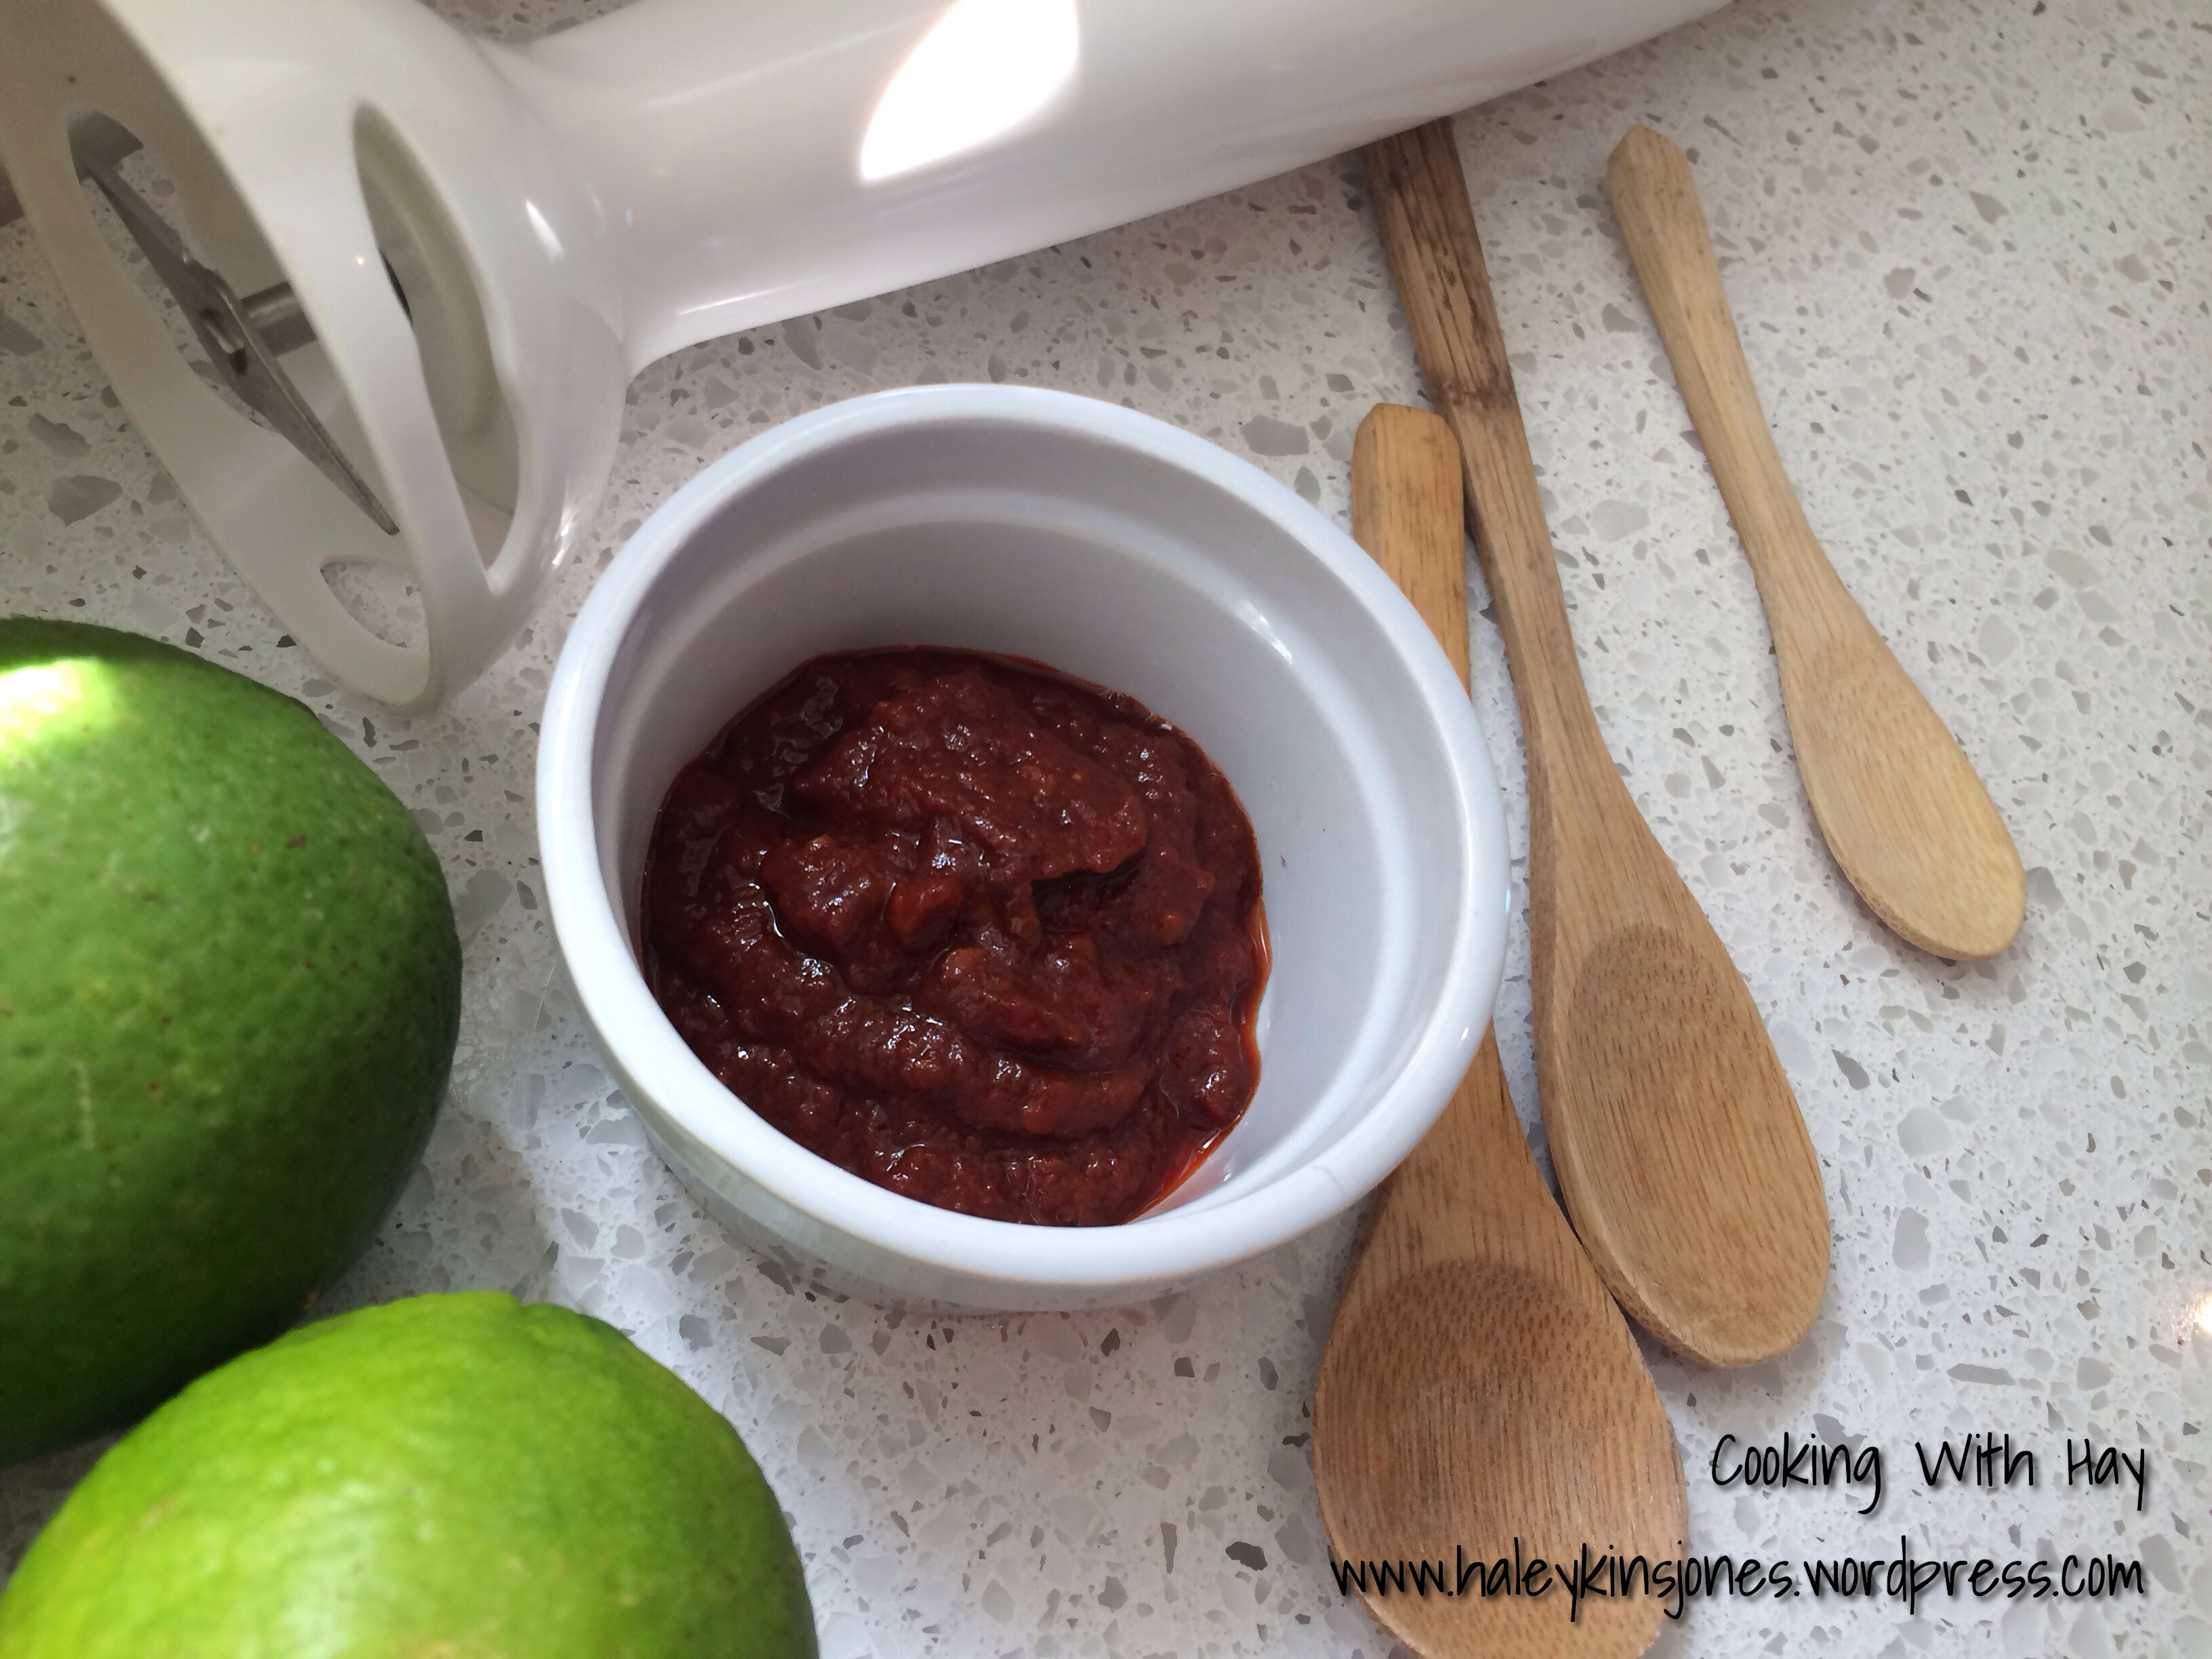
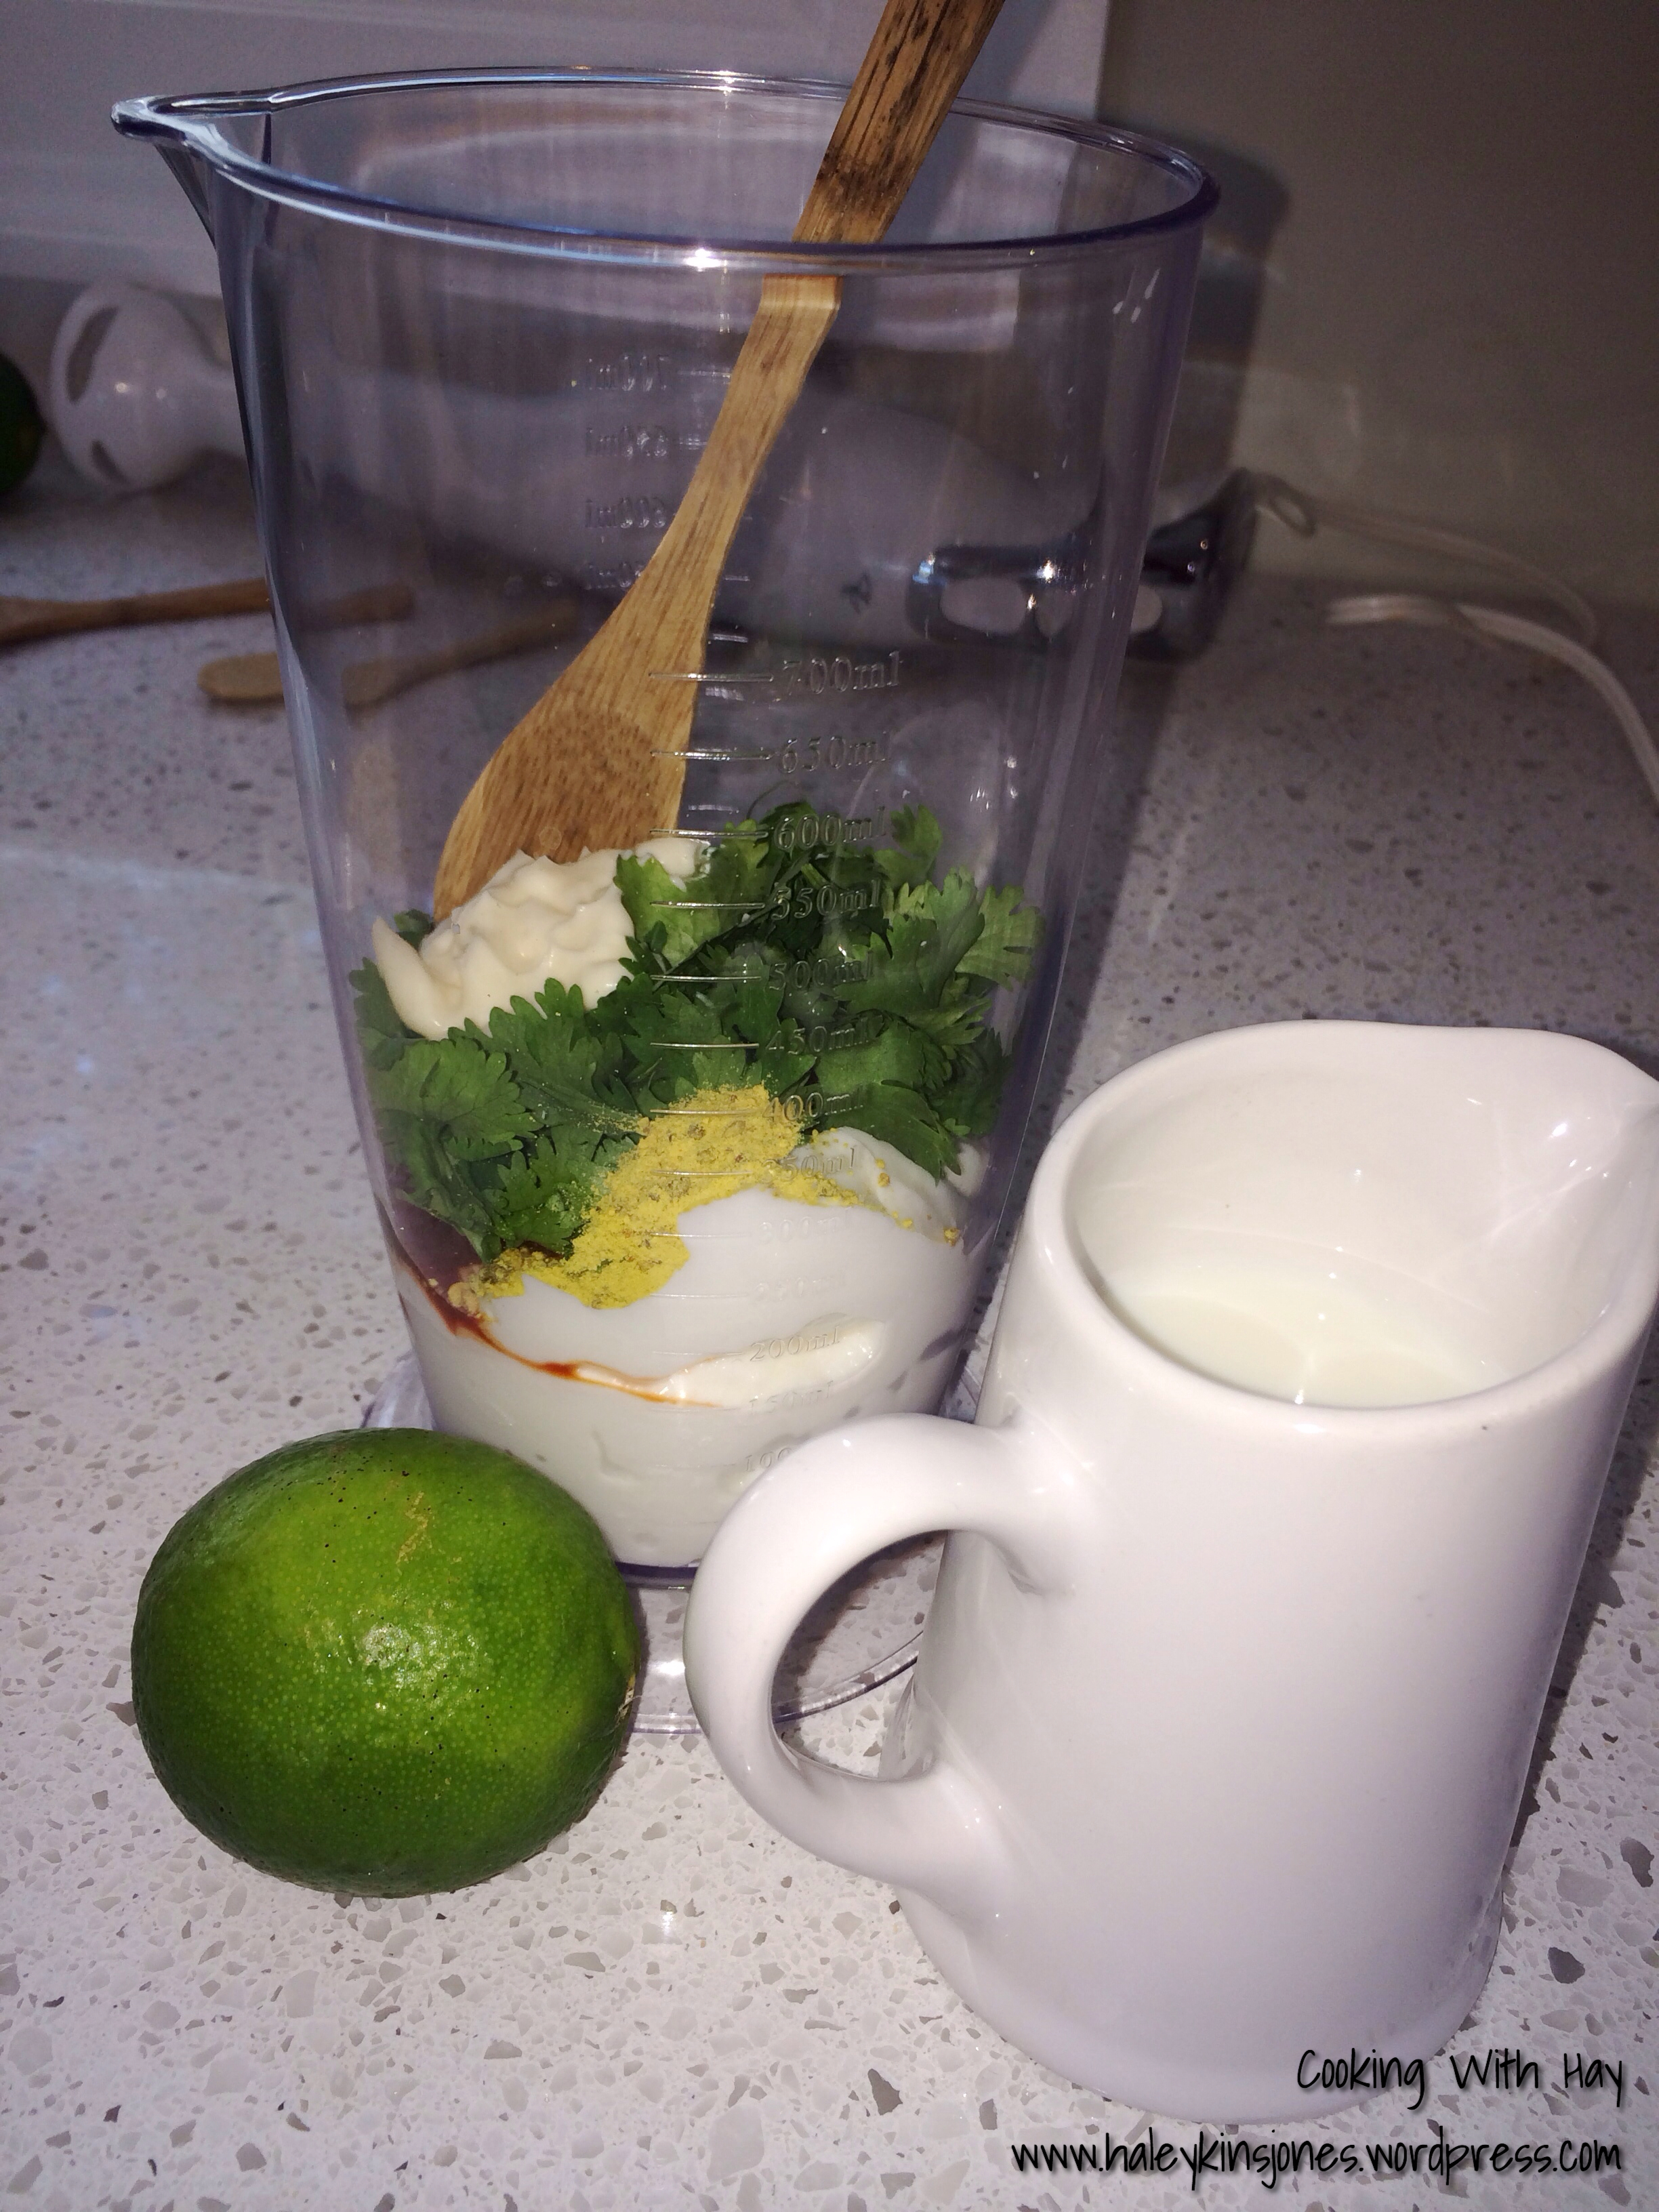
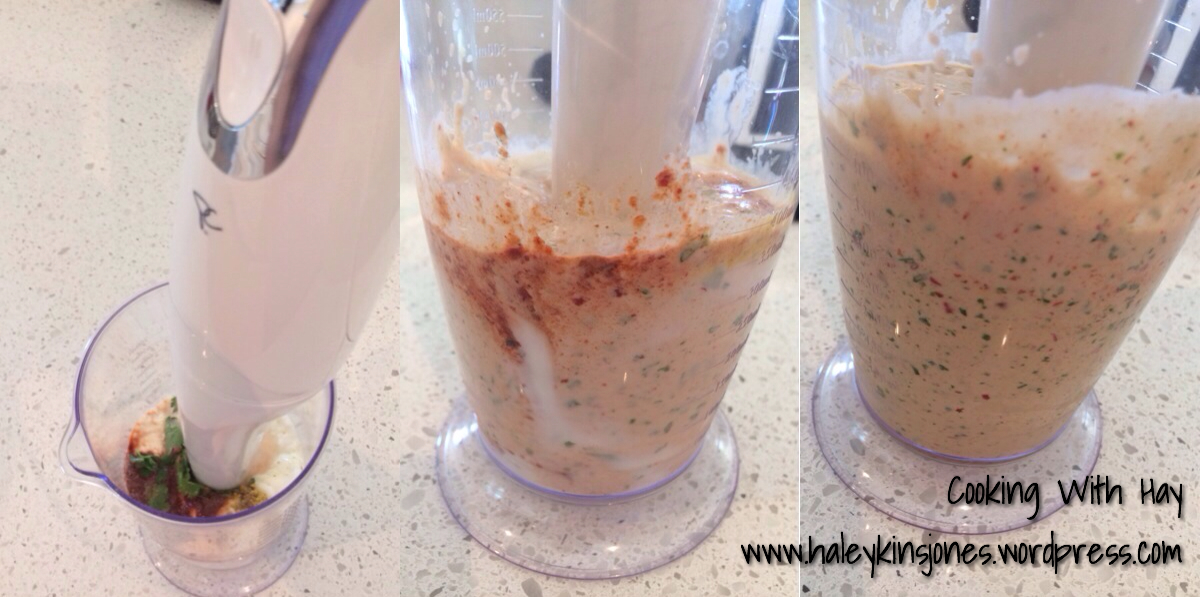
Click on the photo to the left to get this yummy Chipotle Cilantro Dressing recipe for these Blackened Fish Tacos that we’re about to make.

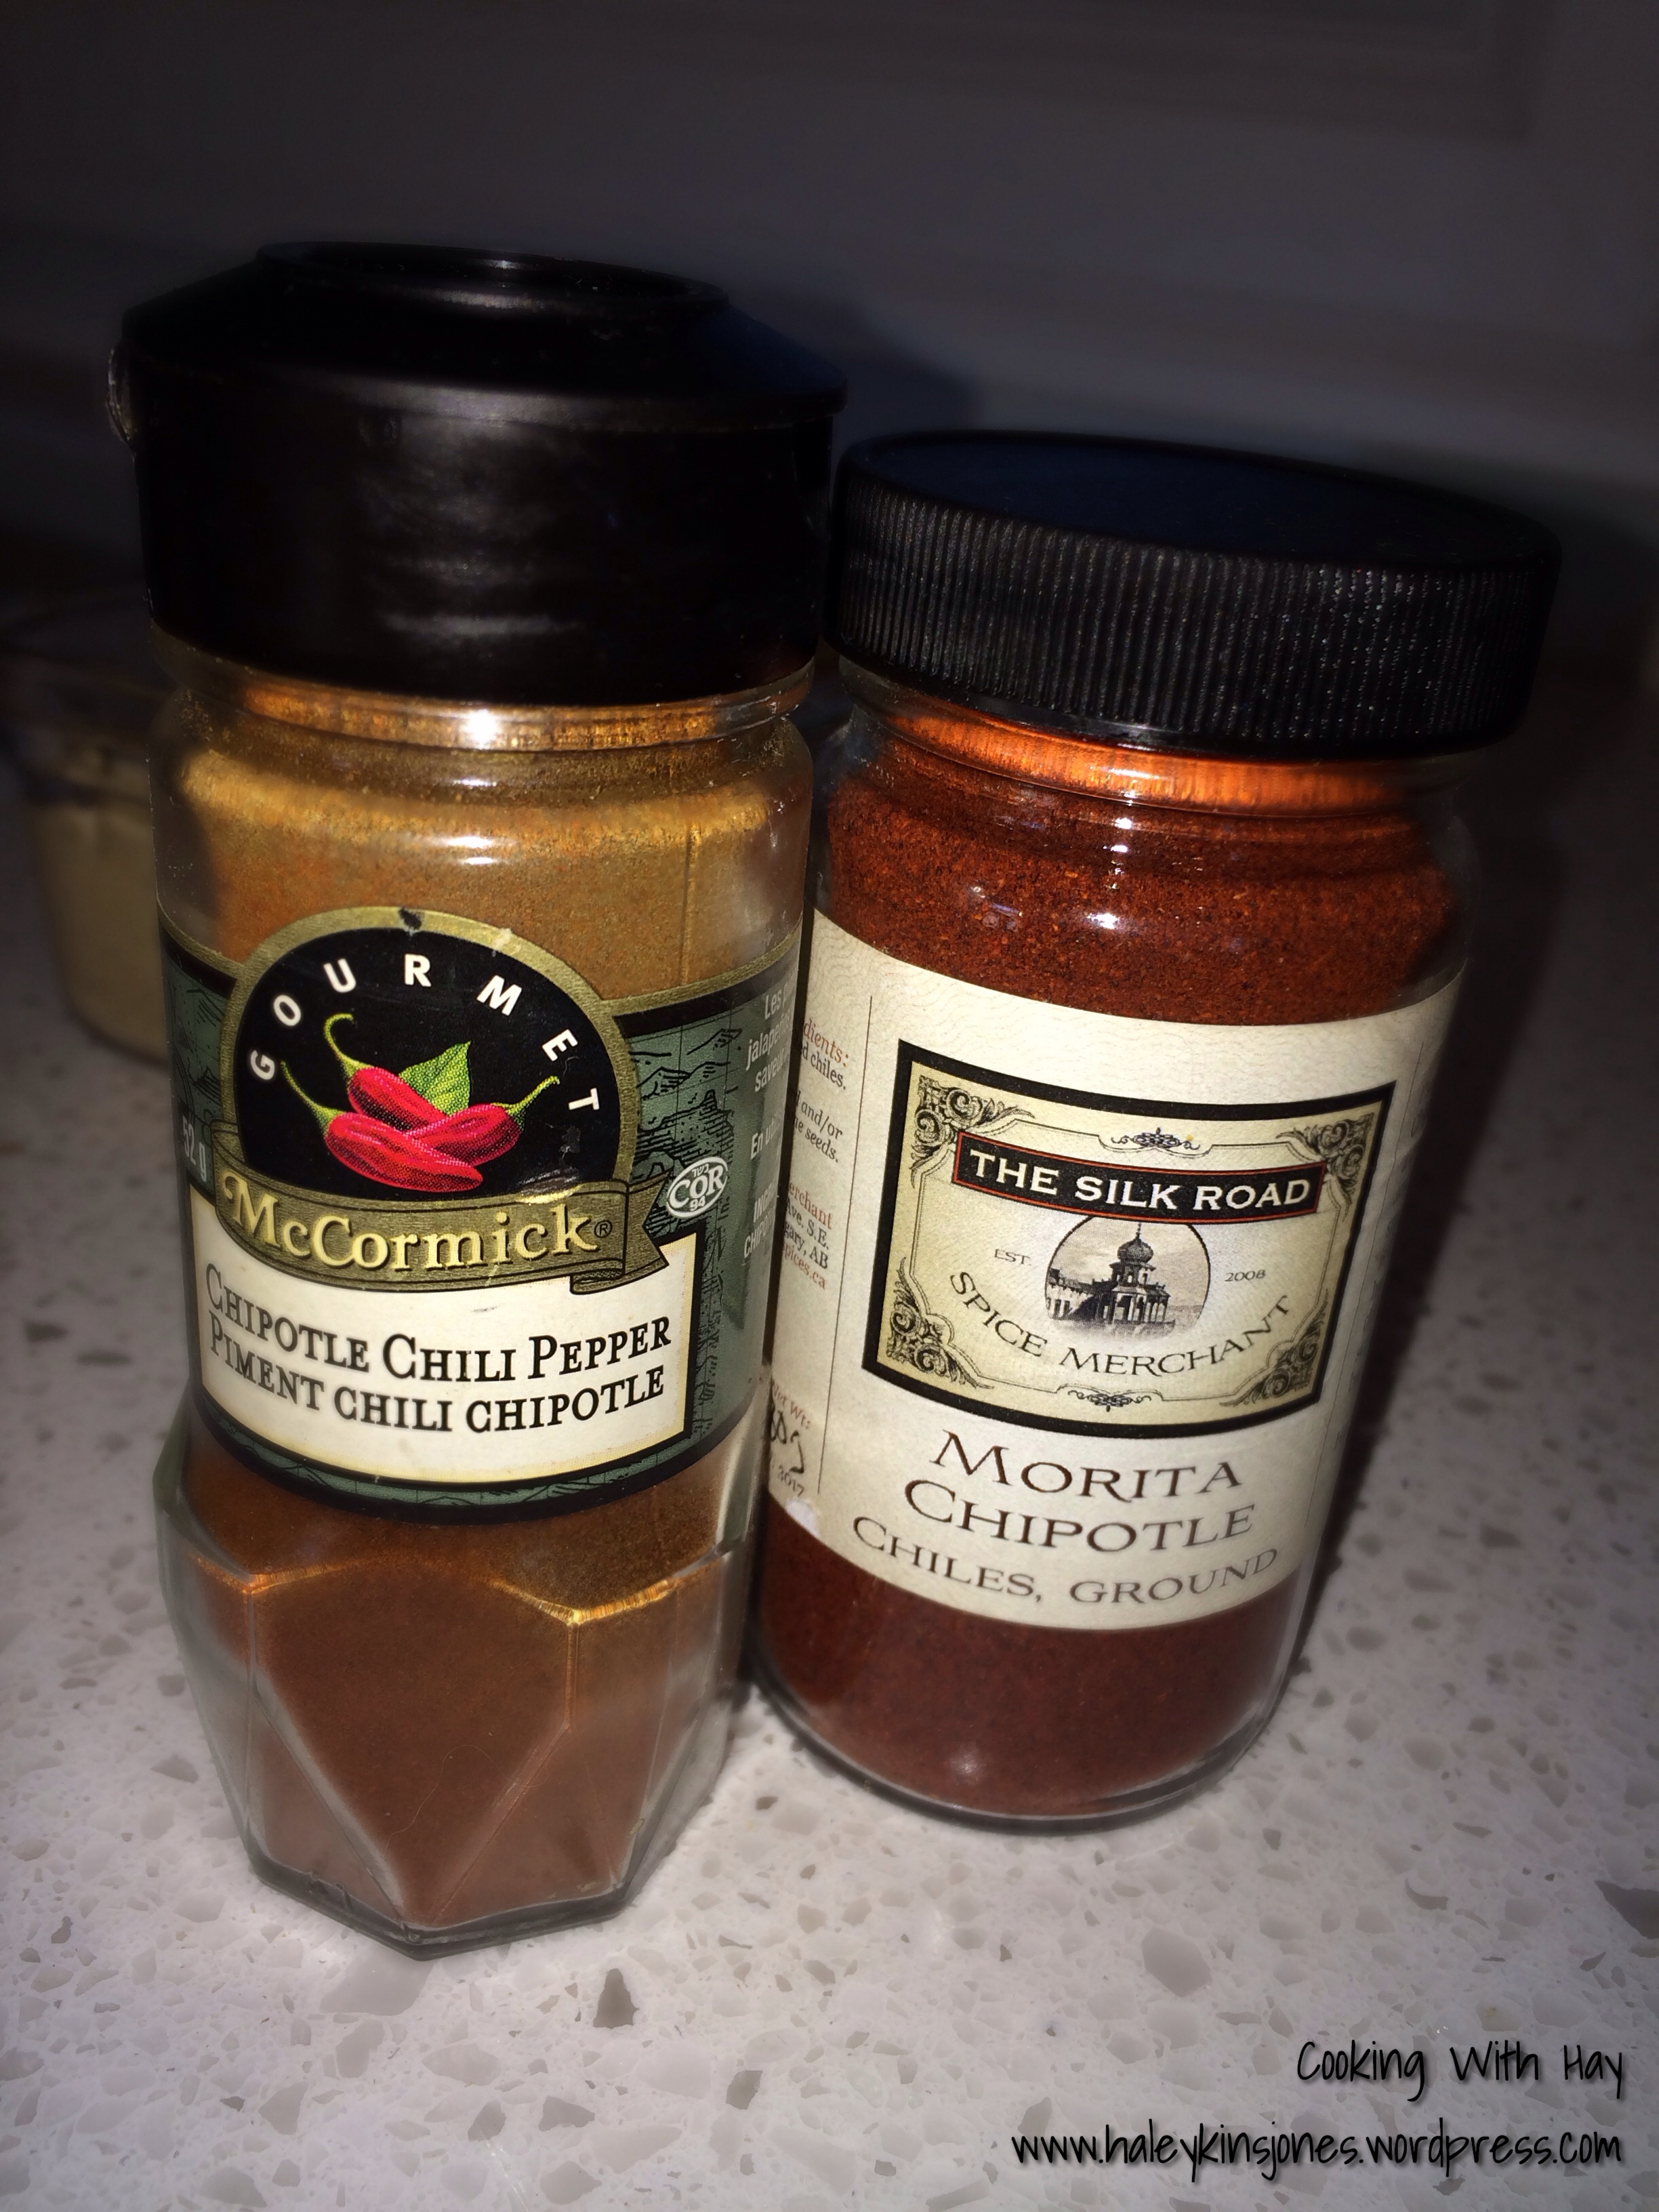
Click this photo to see the ingredients needed to make the Blackened Seasoning that will crispify (is that a word?)the fish to a nice golden crunch on the outside and give it a deep savory flavour.
BLACKENED FISH TACOS
♥ 2 BAGS COLESLAW
♥ 1½ C. CORN KERNELS
♥ SALT + PEPPER
♥ FLOUR TORTILLAS
♥ 1 BIG SALMON FILET or 4 LARGE COD FILETS
♥ HIGH SMOKE POINT OIL FOR FRYING (i used Canola Oil)
♥ 1 BATCH OF BLACKENED SEASONING
♥ 1 BATCH OF CHIPOTLE CILANTRO DRESSING
♥ AVOCADO, FRESH, CHOPPED
♥ CILANTRO + LIME FOR GARNISH
Saute the coleslaw and corn with salt and pepper until just tender.
Set aside, but keep warm.
Heat oven to low temp and slowly warm the tortillas. I like em just before they get toasted.
Cut salmon or fish into large pieces suitable for frying.
Heat oil, just above medium, not too hot or the fish won’t cook thoroughly and not too cold or the fish will soak up to much oil and become soggy.
Fry till dark and golden on each side.
If you’re using salmon you may have to do the ends too. Use tongs. They work best.
When they are done gently remove from hot oil onto a papertowel lined dish to remove excess oil.
Let cool for about 5 minutes and break into good chunks.
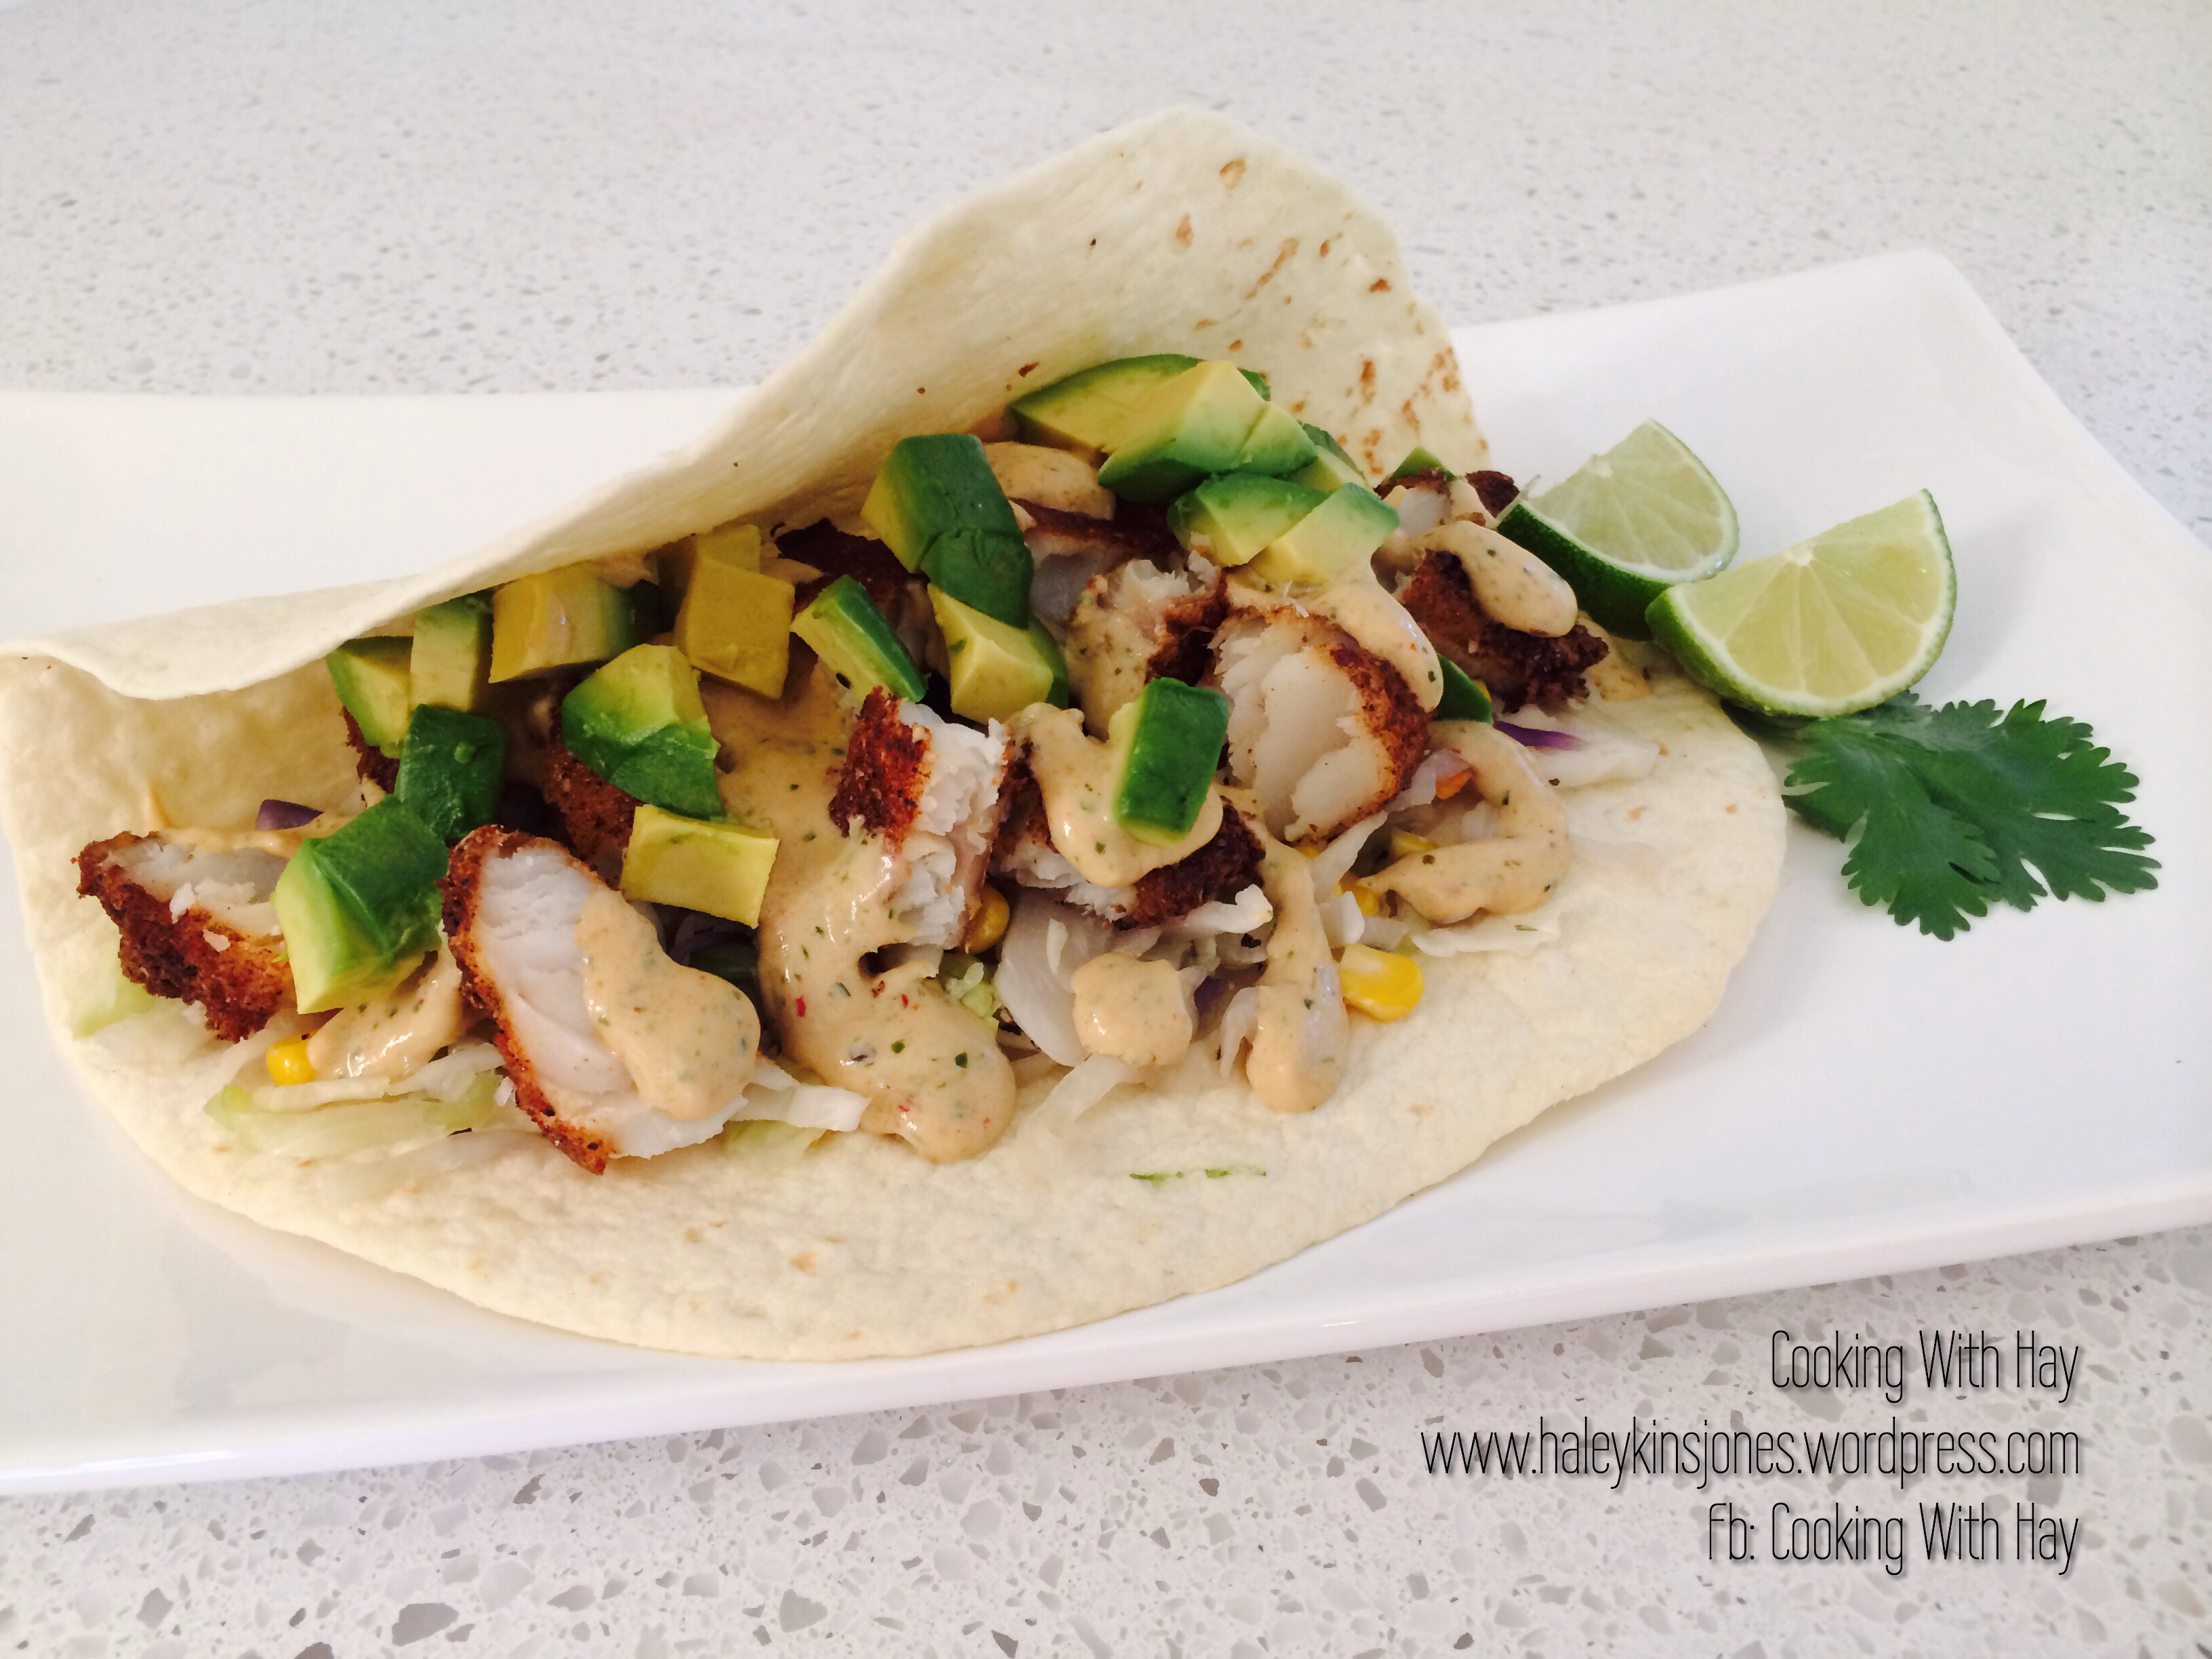
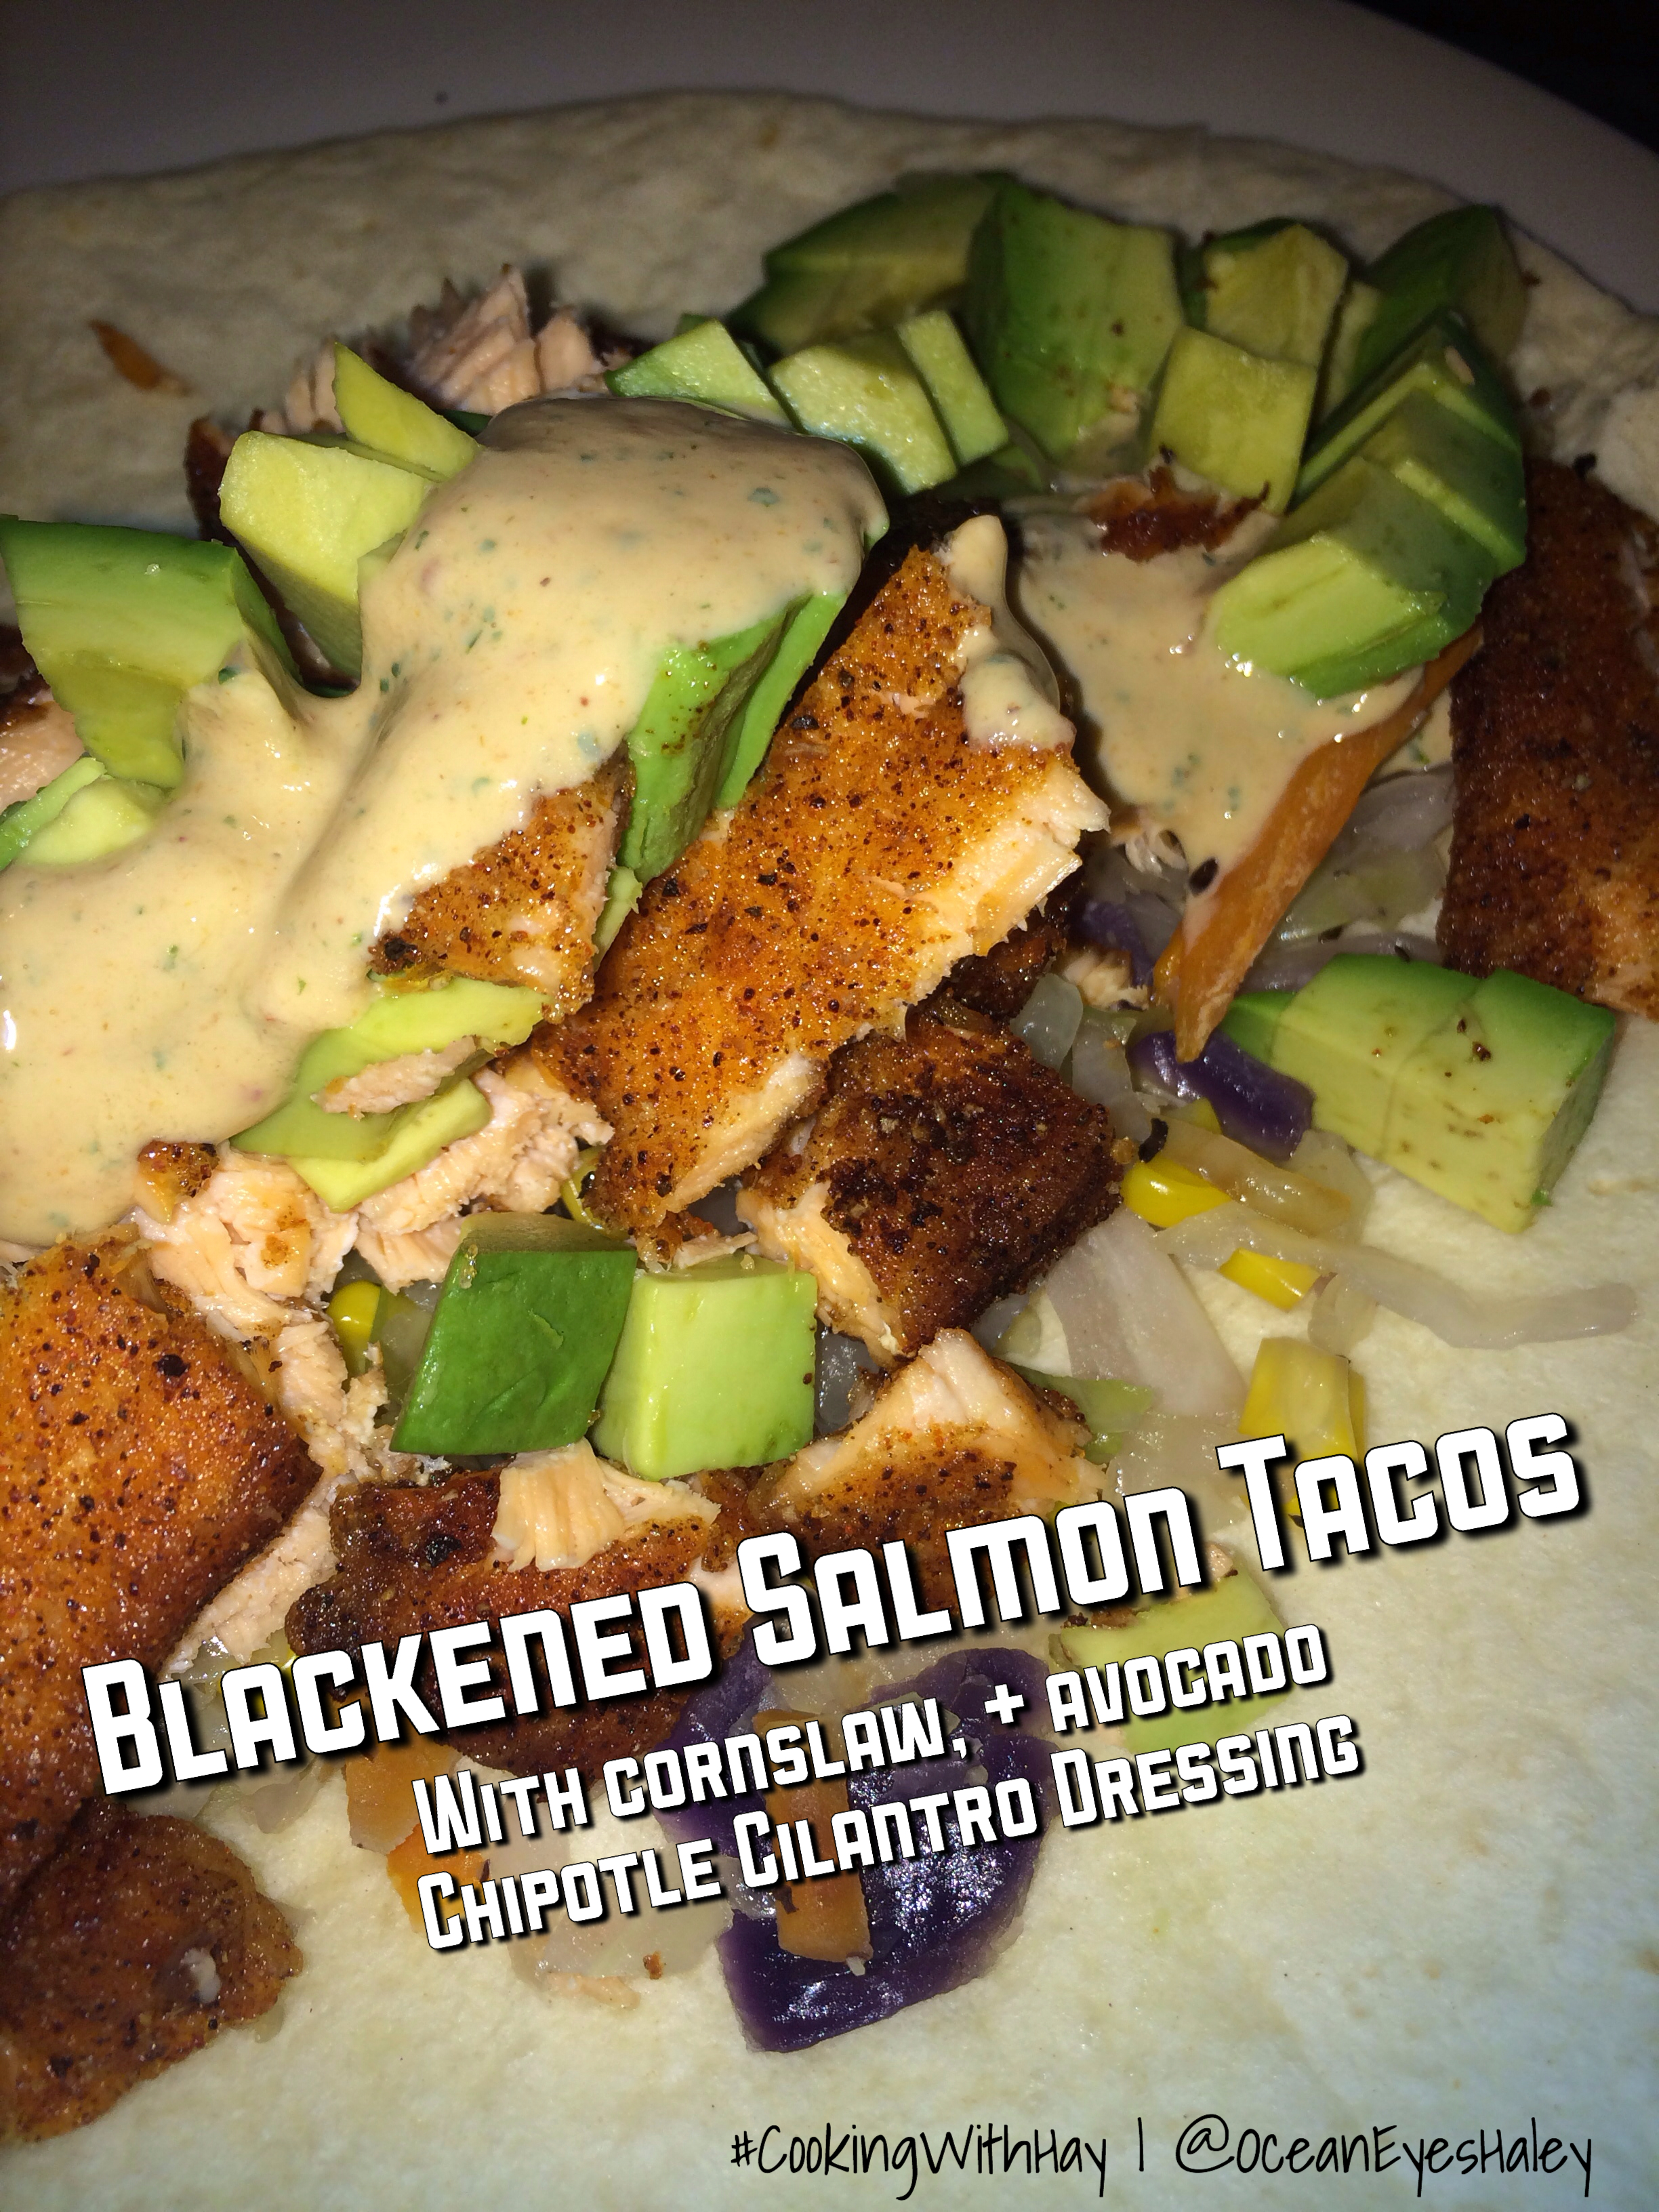
THE ASSEMBLY
Warmed Tortilla
Sauteed slaw and corn
Blackened fish
Drizzle with some Chipotle Cilantro Dressing
Top with chopped fresh avocado, cilantro and a squeeze of fresh lime juice
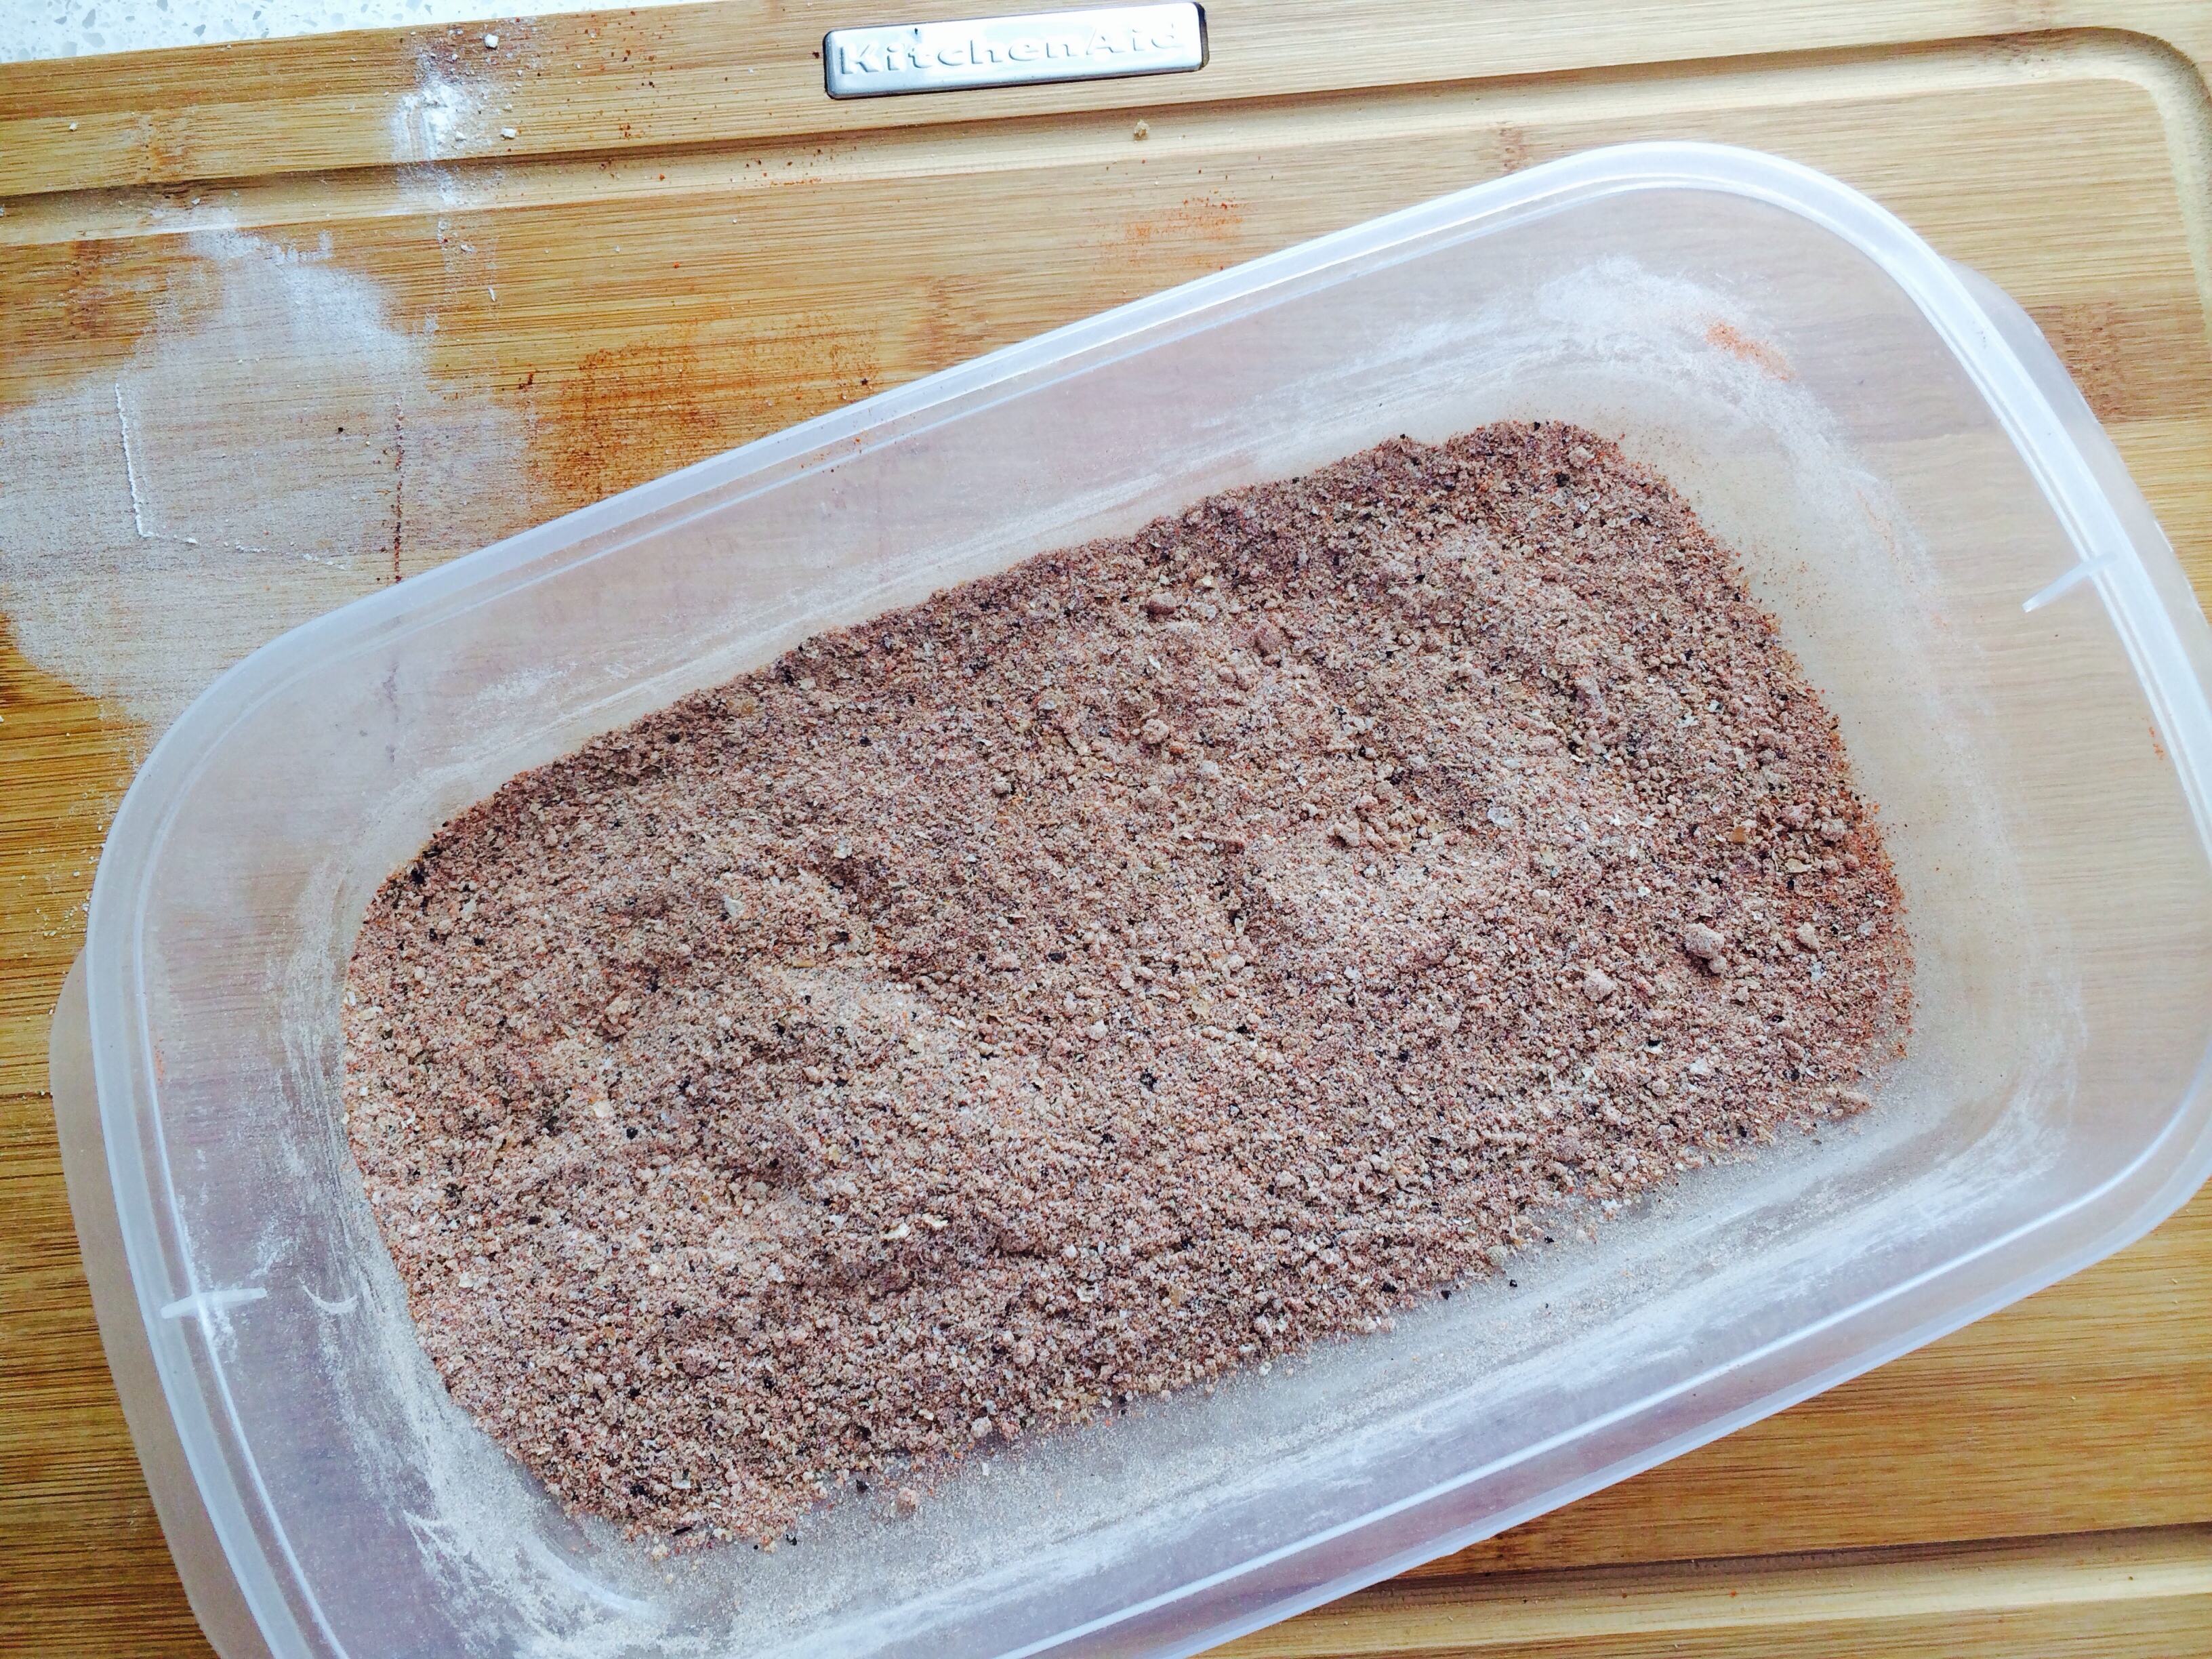
Place the Blackened Seasoning in a shallow flat bottom container of some sort so you can press the fish into it. Coating every inch of it. The better it’s coated the better the crisp.
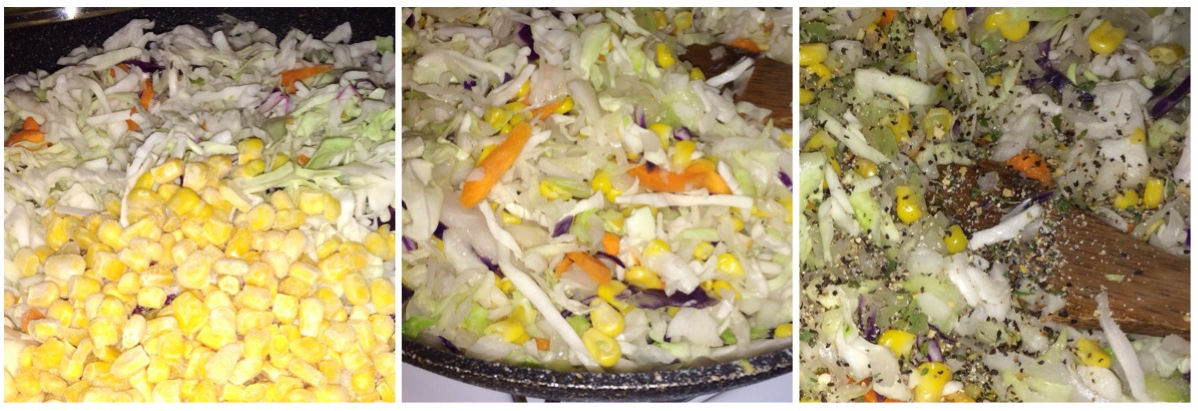 You don’t want to over cook the cabbage, or it will lose all it’s structure. You want to saute it till it just starts to wilt. Keeping it warm will also allow it to keep cooking so with the pan on medium heat, just keep an eye on it.
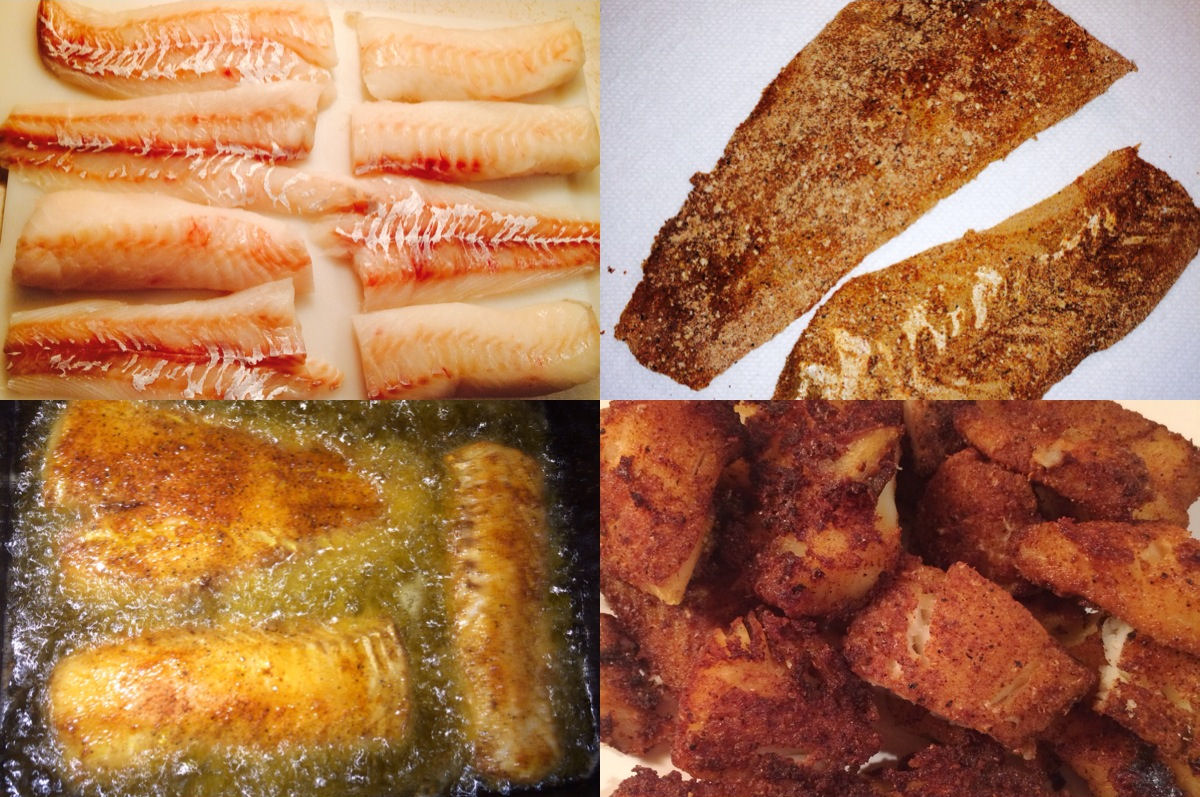 This is the cod I used last night. Seasoned all over every surface of fish with the Blackened Seasoning.
Fried in some oil till golden and delicious. I use a large cast iron flat bottom deep dish for frying. Allows maximum room for the fish to fry properly without over crowding the pan. The heavy duty cast iron can withstand the high temperatures and will maintain it’s heat better when you drop in the fish.
I fried the fish in 2 batches to ensure it cooked evenly and properly. Or you can use a deep fryer but I’ve only used one once and I didn’t like it…. it was too small for what I needed and I don’t want a big greasy appliance kicking around here. I fry as little as possible.
 Frying foods took a lot of practice for me over the years. So many times chicken or potatoes or whatever it was I was cooking, was either undercooked or well well well done. Practice makes perfect.
Frying can be very unhealthy if done incorrectly. When done the right way you are using the least amount of oil to get that desired crunch and crispiness.
✰ Oil that isn’t hot enough won’t seal the food as it should when you drop it in. ✰
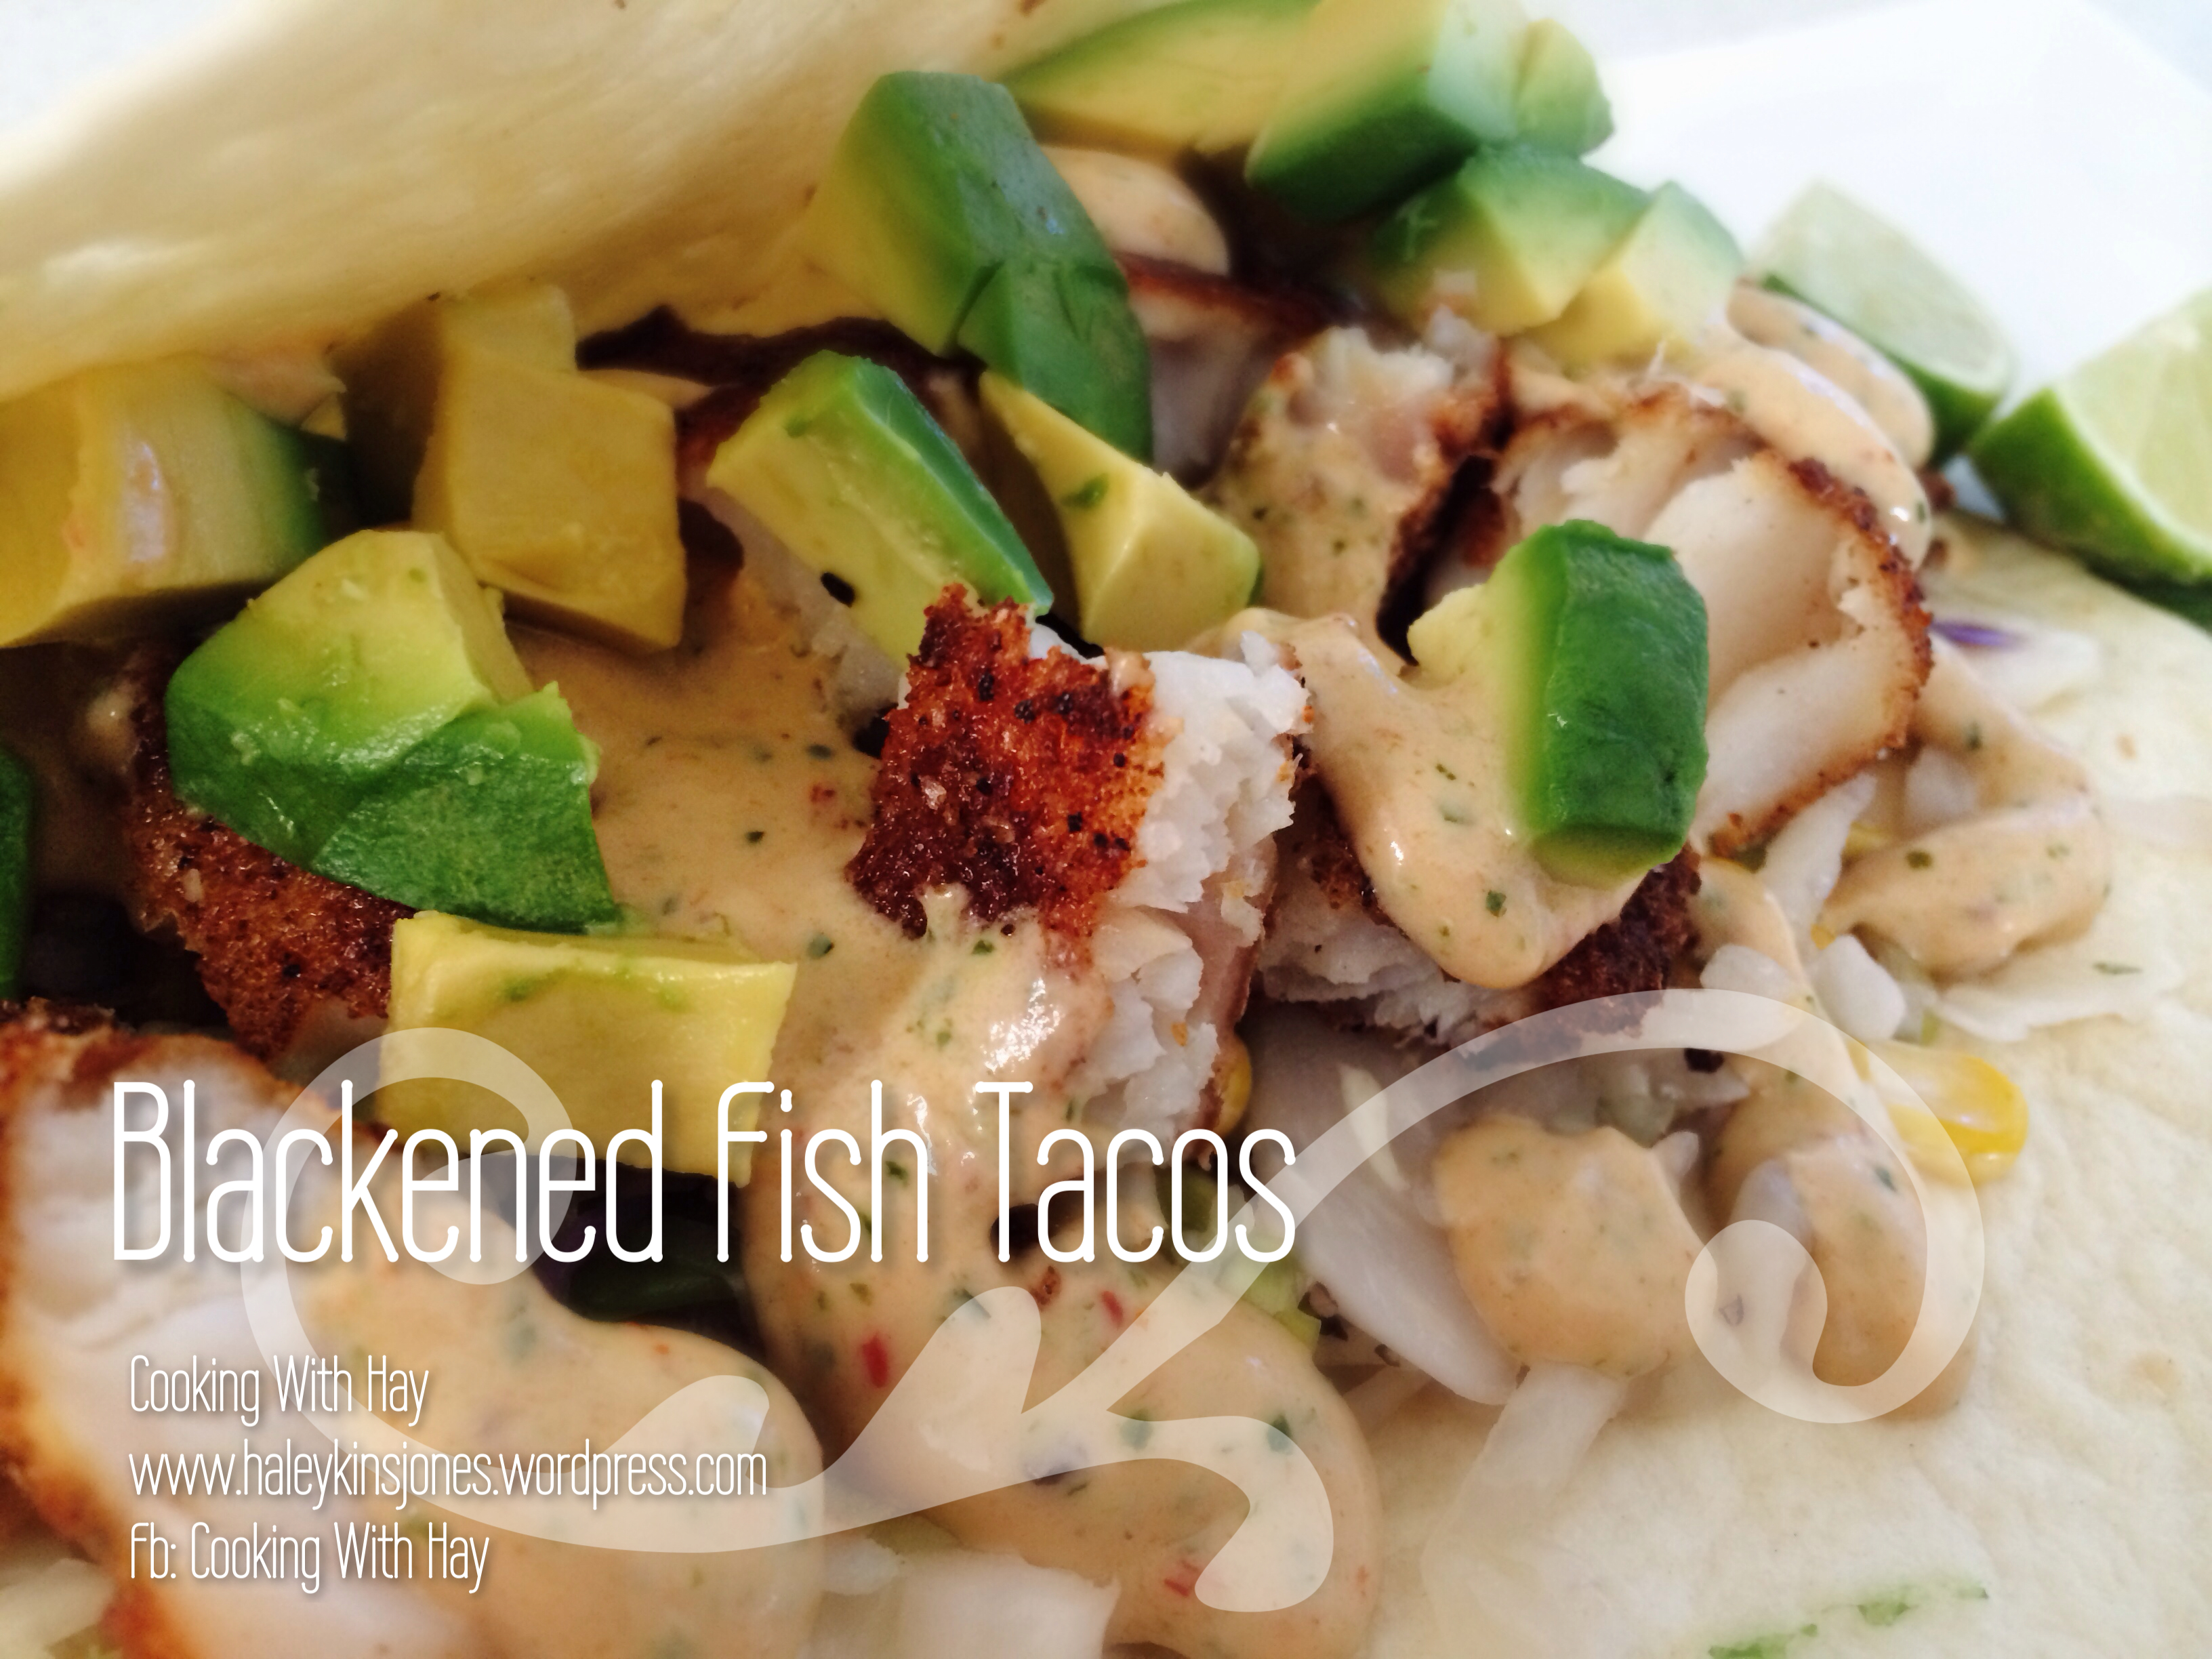
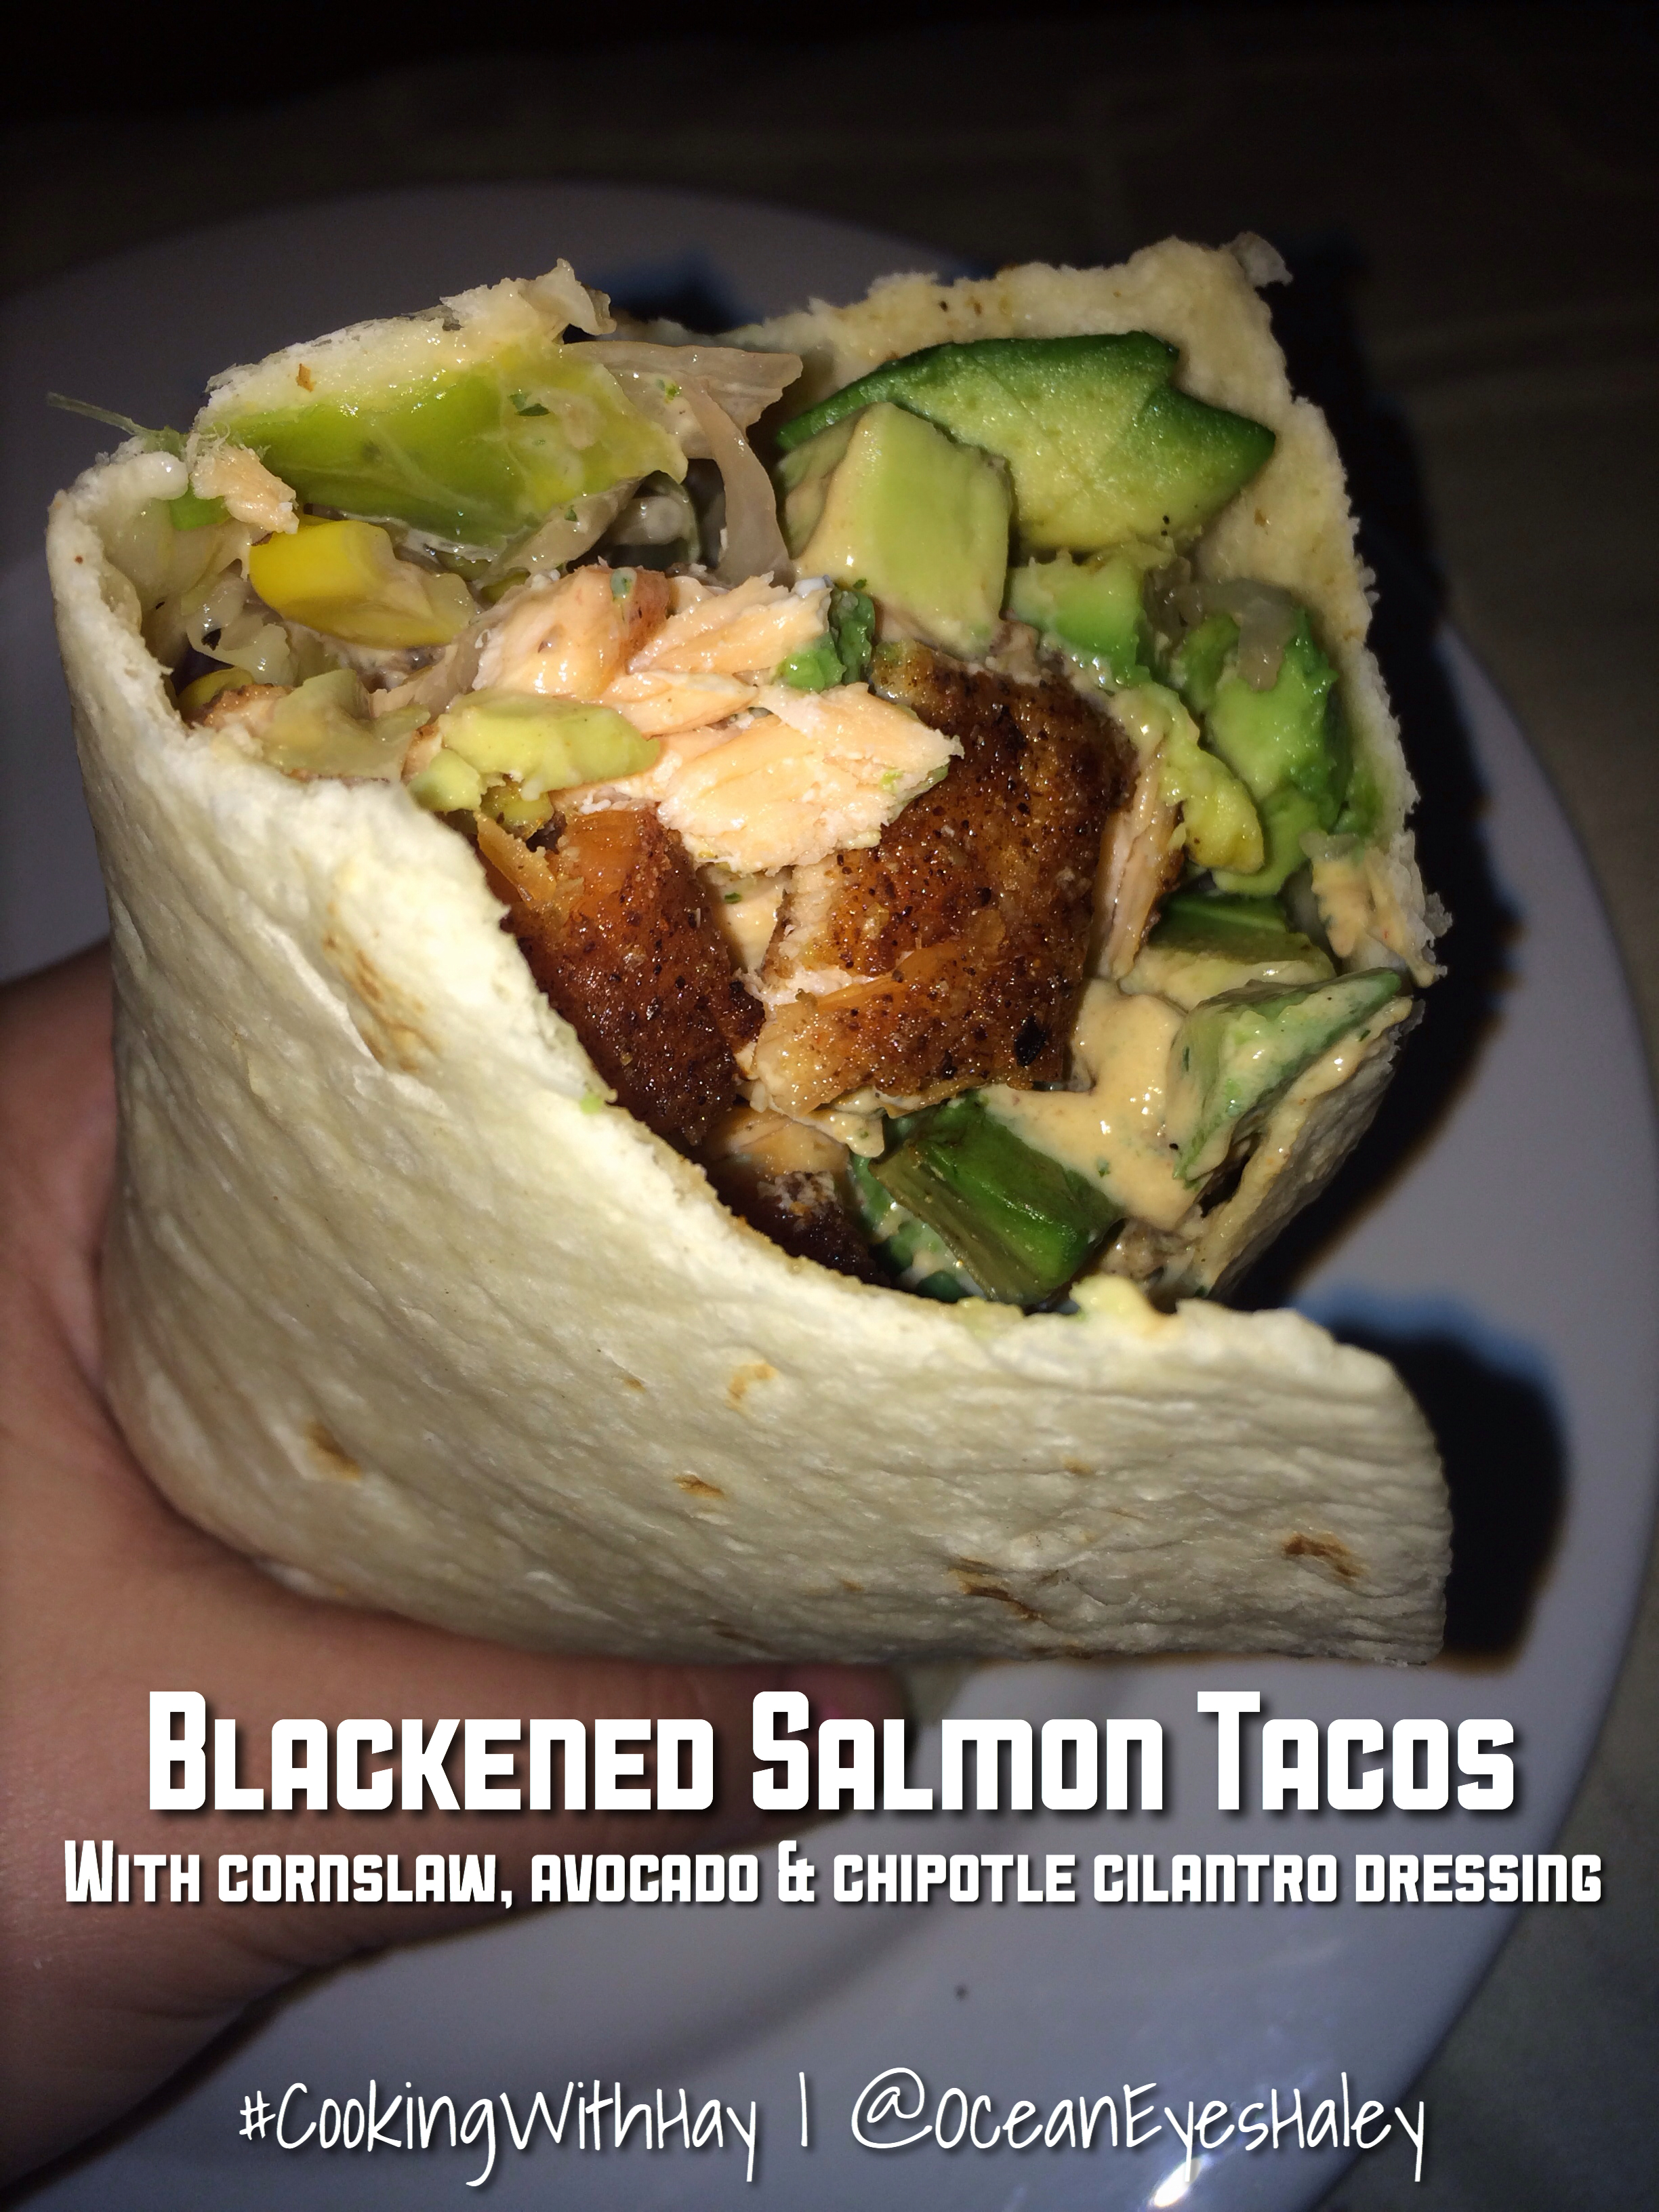
The first time I made these I used some fresh plump salmon and they were to die for! This time around i used cod. I preferred the salmon over any white fish but both were really good.

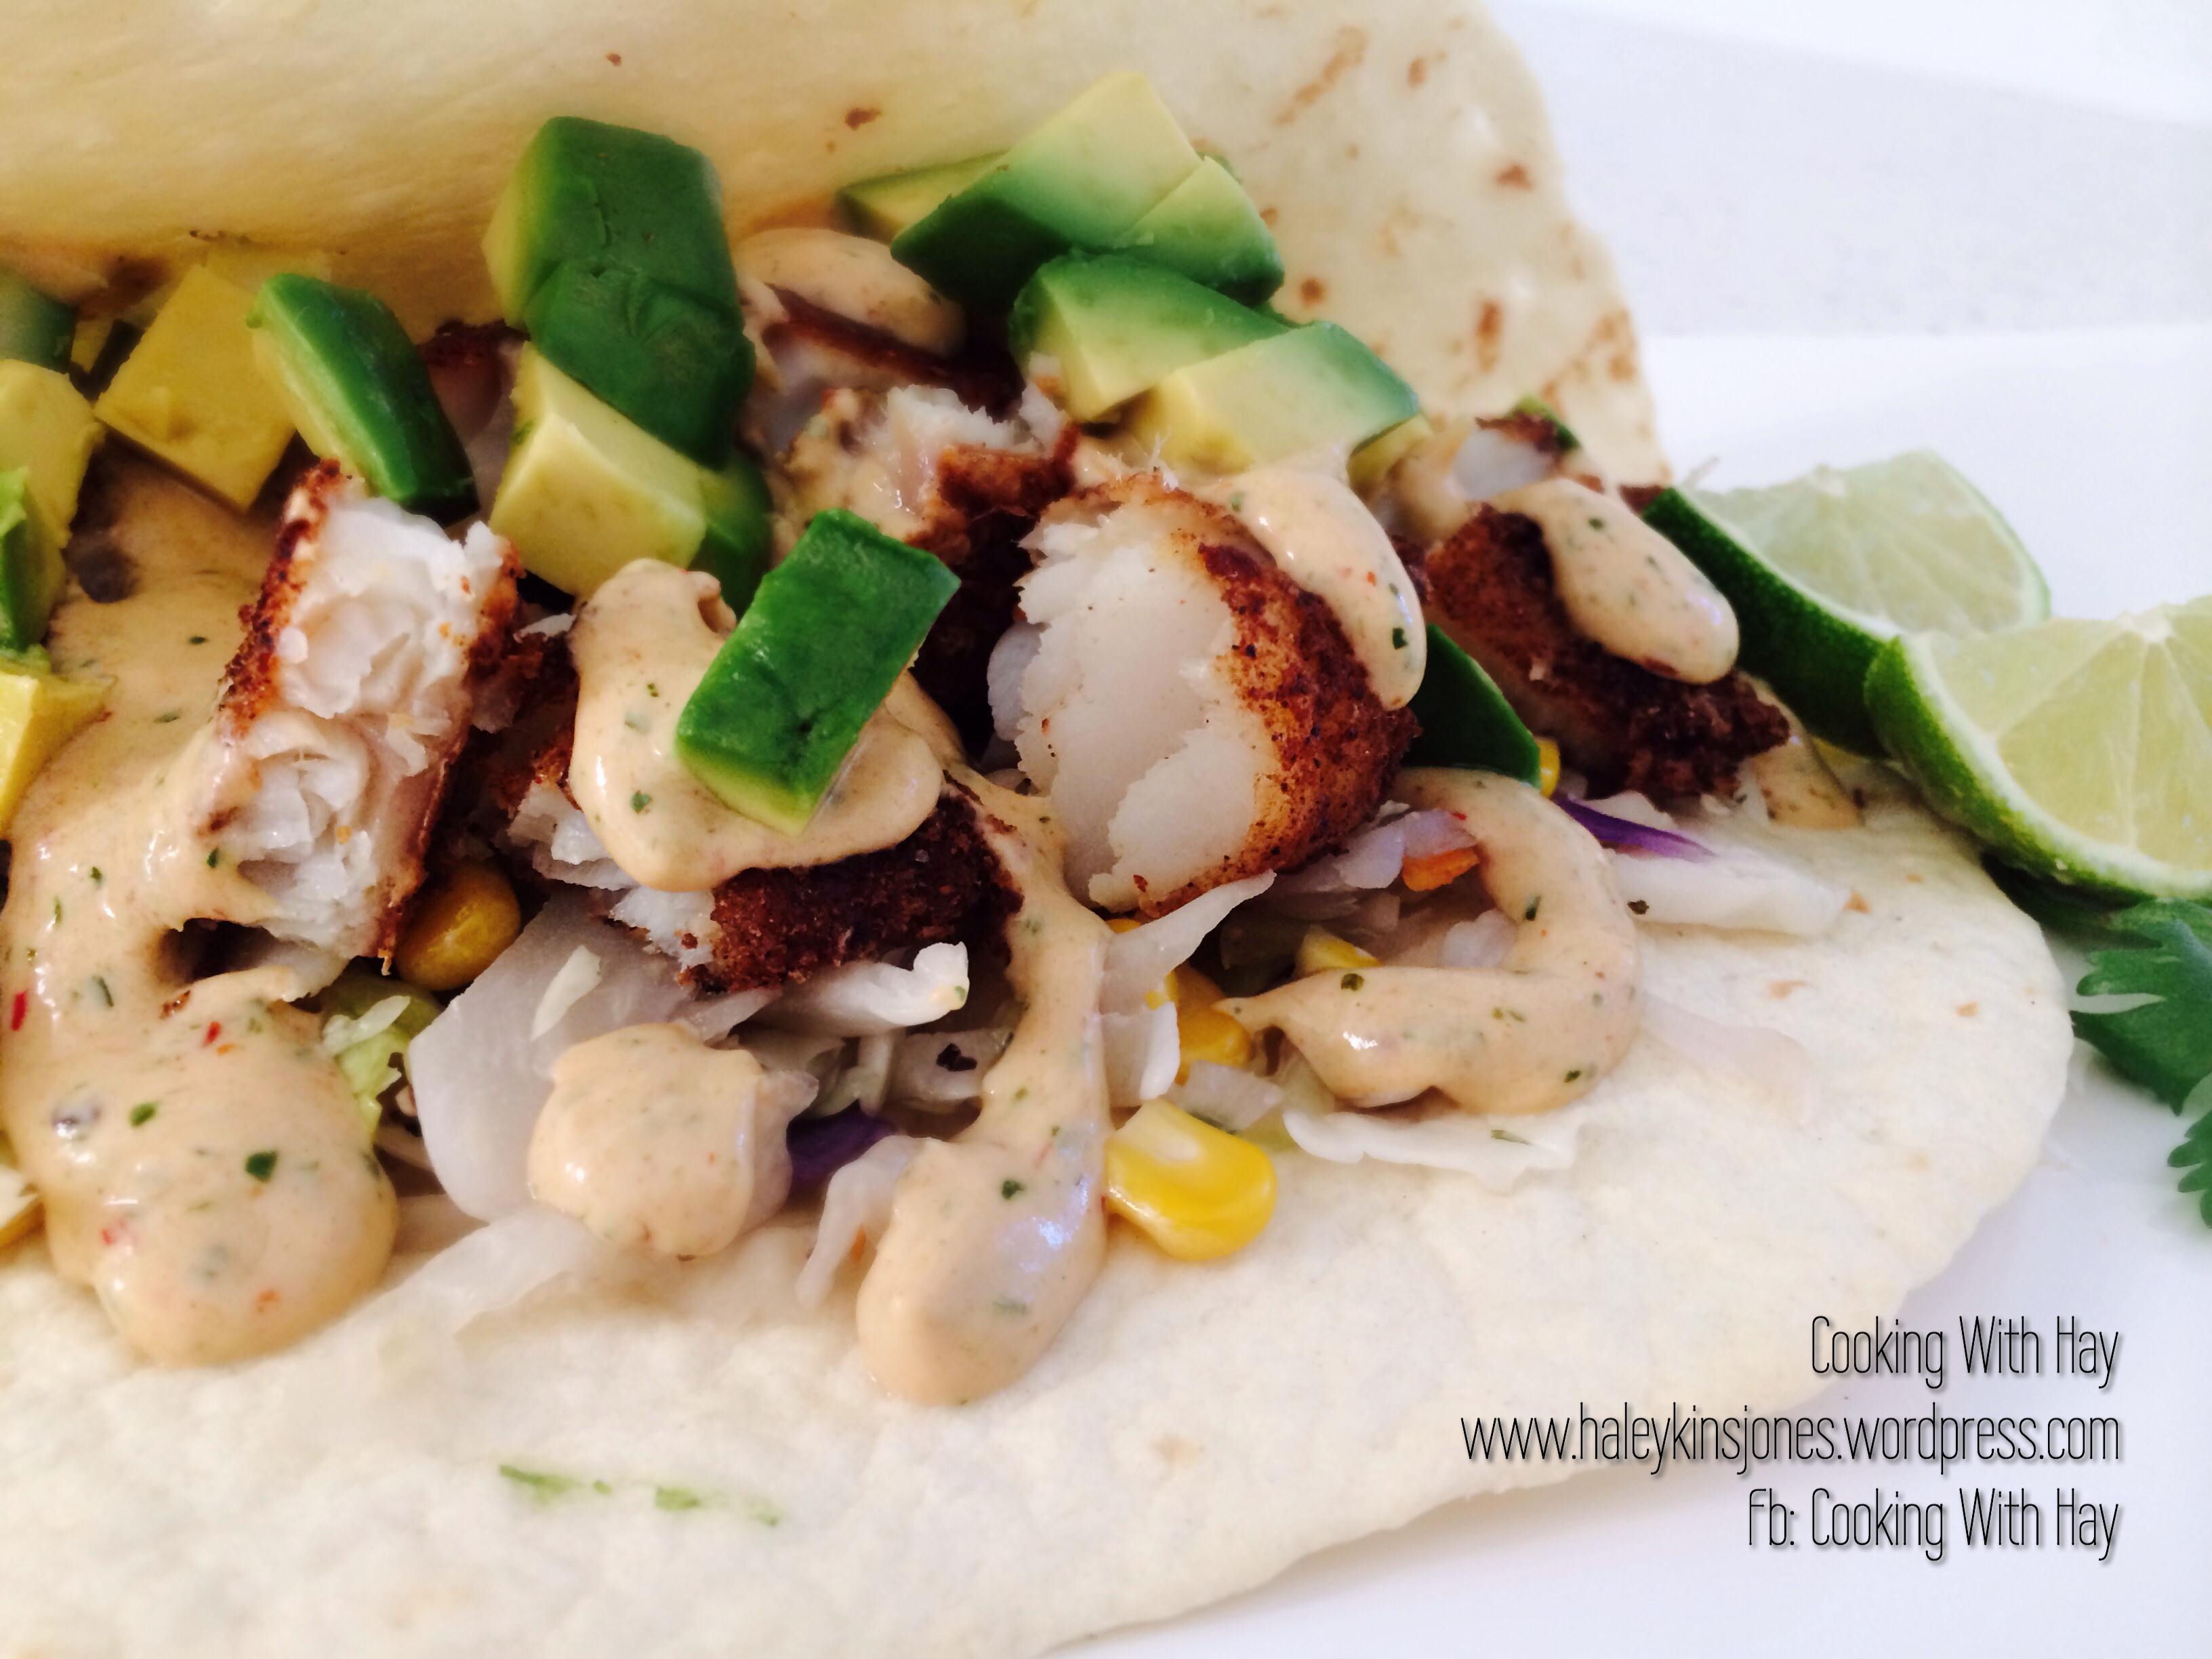
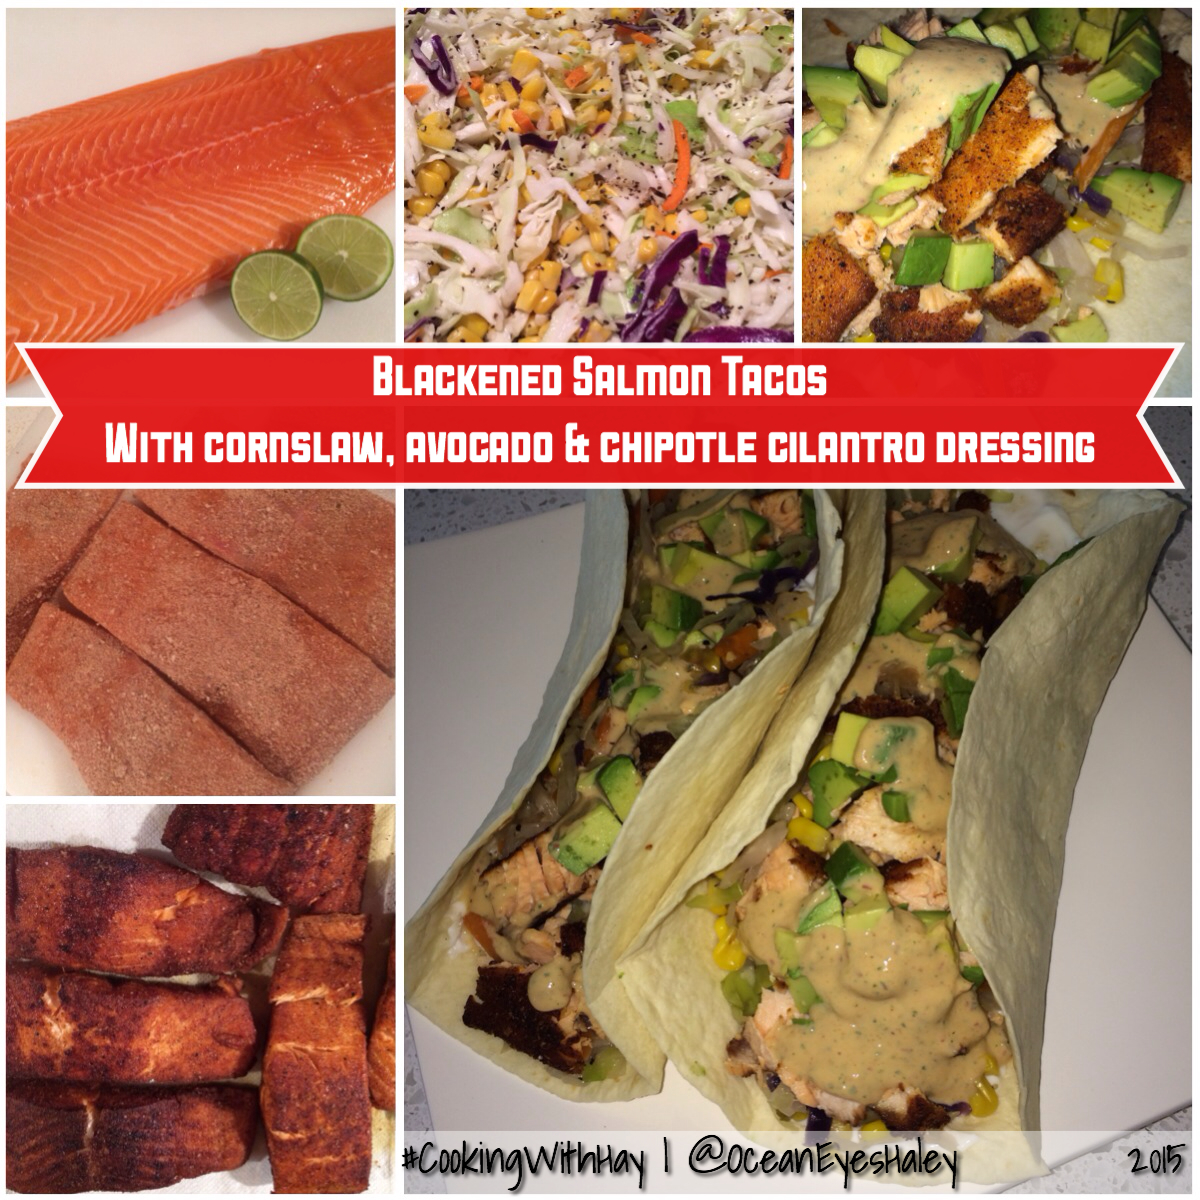
BLACKENED SALMON TACOS
Here are some pics from the salmon ones I made last week! These ones were my favourite!
Since the photos were taken down in my temporary basement dungeon kitchen they aren’t of the greatest quality. We can only go up from here my friends ☺
Love Haleykins❤️
or the “COOKING WITH HAY” tab (top of the page) to see more**


 INGREDIENTS
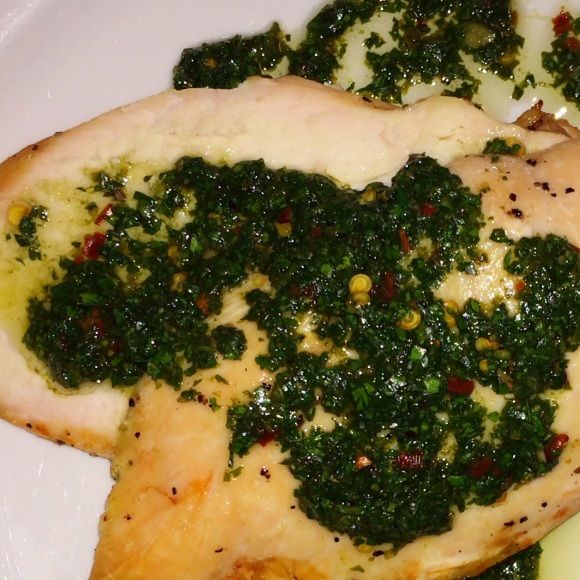 ________________________________________